Sometimes you need to put multiple slides in one page in Microsoft PowerPoint. With PowerPoint, you can insert more than one slide into a single page. This can be very useful if you have a long document with relatively few text boxes and pictures. While not all users might benefit from this feature, those who do have several long documents over a few pages can save time and paper by using this technique.
MS Powerpoint is an efficient tool and application when it comes to our presentations in both the classroom and the office.
Yet, it can be challenging once we’re required a hard copy of these slides. In the beginning, converting animated slides into a portable document format can seem intimidating. Still, it’s actually easier than you think.
If you’re wondering how you can create a layout for these slides for printing without having to use any copy-paste methods, then we’re here to help you out. This article will go over how you can put your slides into a page.
Put Multiple Slides
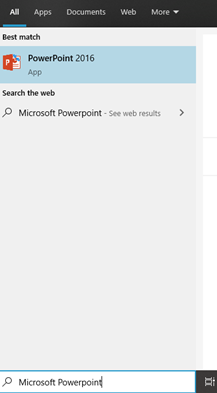
Step 1: Open MS Powerpoint
You can do this by clicking the start button at the lower left of your screen, and type in “Microsoft Powerpoint”. If you have a shortcut of the application on your desktop, click on the icon.
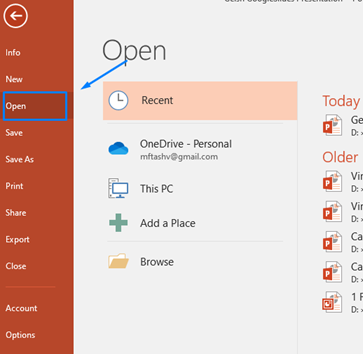
Step 2: Open the file to be converted
Once opened, click on the “File” tab at the upper left side, and click “Open”. You will be given access to recently opened files or will allow you to browse through your folder for the specific Powerpoint files.
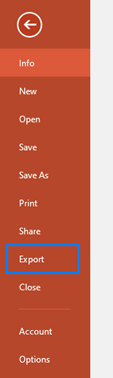
Step 3: Export the file
Now that you have opened the file, you can now return to the “File” tab, but this time, click “Export.”
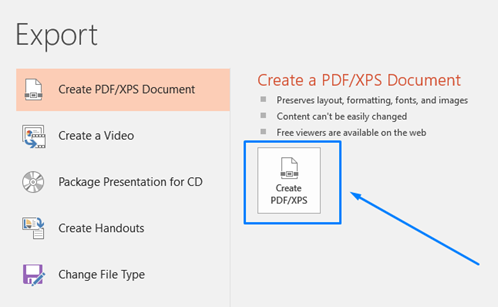
Then, you will be given options on whether to create. This means that you can convert it as a PDF, video, CD presentation, or handouts. Choose the Create PDF/XPS option.
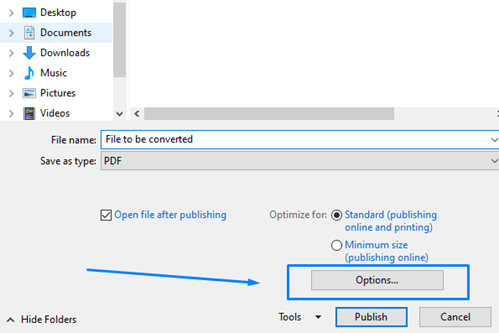
A pop-up page will appear to allow you to choose what to name the file or where it will be stored. Before doing this, set the publishing options to allow for multiple slides per sheet. Click on “Options”.
Step 4: Set the publishing options
Once another pop-up page appears, you can then set your pages to include multiple slides.
In the first part, you are given the option to publish all of the slides in your presentation or only convert a selection of slides.
This can come in handy if you believe some parts of the presentation are unnecessary and unimportant for evaluation.

On the second part of the publishing options, you are shown a drop-down menu regarding what you plan to publish. The choices will include Slides, Handouts, Notes Pages, and Outline View. Choose Handouts since this is the only option that will allow you to set the number of slides for every published page, with one slide as the minimum and nine as the maximum.
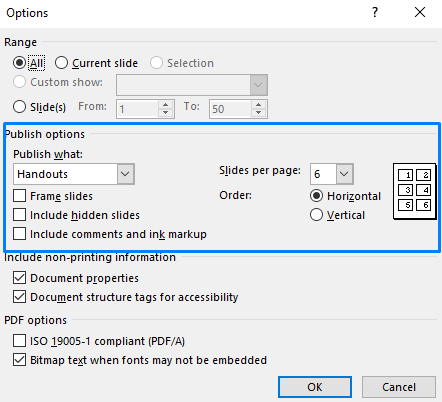
You can also set the orientation to either be horizontal or vertical. Other things you can include are frames, hidden slides, and comments you added to the file.
After finalizing all the settings, hit Publish.

Step 5: Check your published pages
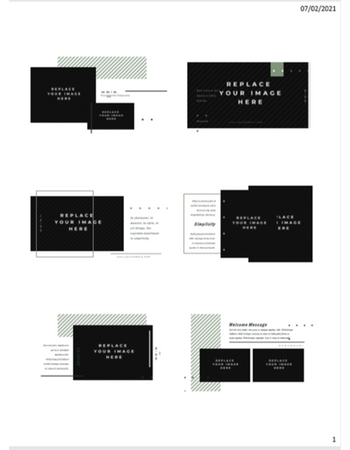
Publishing may take a while. This will depend on how heavy your file is or how much content is included in the slides. Once it is done, your default PDF viewer will automatically open the file.
In this case, you have set it to six slides per page. However, this is not ideal for reading. So, you can set your next PDF to two to three slides per page instead.
You can also see the publishing date, as well as the page numbers. If you believe this information is no longer necessary, you can remove this at the publishing options.
Summary: Put Multiple Slides in One Page in Microsoft PowerPoint
- Right-click any area of the slide.
- Select Format Background option.
- In the Fill section, select Picture or texture fill.
- Click on Insert button and choose one image that you want to use as a background.
- Make sure your image fits the entire slide by clicking the Crop tool in the Format Background dialog box and adjusting your image accordingly.
- You can add multiple images by following step 2 to 4 for each new slide or you can save time by selecting two or more slides before selecting Format Background option.
- After completing your slides, you can Print it and change the page setup under Settings section to 1 page per sheet.
Conclusion
That sums up everything you need to know about putting more than one MS PowerPoint slide in each page. This technique can also be helpful if you’re a student and your study material is formatted as a PowerPoint slide. Lastly, always remember to save any progress made on your files. Good luck!
