Have you just learned the hard way that, if you want to go on using Snapchat on your iPhone 6, you need to back up your iPhone before installing a new iOS version? Then follow this guide in order to find out how to recover Snapchat on iPhone 6.

Snapchat has become a very popular photo-sharing platform. Features like cool filters, lenses have made this platform a fun way to communicate with your friends and family. However, Snapchat is distinct for its self-destructive messaging feature that removes shared photos once they are viewed.
Now, a situation may arise when you need to view the snaps again? Is there any way to retrieve the deleted photos and videos? If that’s what you are searching for, you are in the exact place. Today we will show you the 3 best working methods for recovering Snapchat photos and videos on your iPhone.
Method 1: Recover Snapchat photos/videos, using recovery tool
This method is suitable, in case your data are not backed up. By this method, you can recover any kind of data including Snapchat photos. Here we will use a data recovery application on our computer. So, you just need your computer and a USB cable to connect your iPhone.
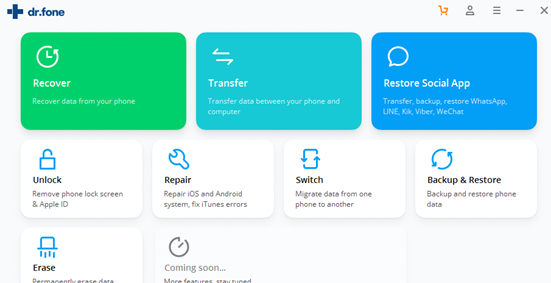
Dr.fone - Data Recovery (iOS)
Dr.fone can recover around 20 types of data including Snapchat photos, voice memos, WhatsApp messages, messages, Safari bookmark, contacts, call history, etc. You will get dr.fone both for Mac and Windows system. It works well with iPhone XS/XR/X/8 (Plus)/ 7 (Plus)/SE/6s (Plus)/6(Plus)/5S/5C/5/4S/4. Recover your data by following these steps below:
- Install and launch “dr.fone Data Recovery” on your pc.
- Plug your phone into your pc via the USB cable and click “Trust this Computer” on your iPhone.
- Select the “Recover” option from the pc app.

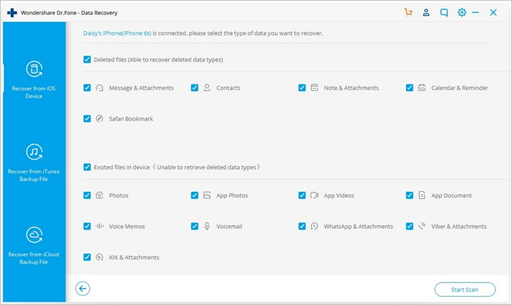
- Choose “Recover from iOS Device”.

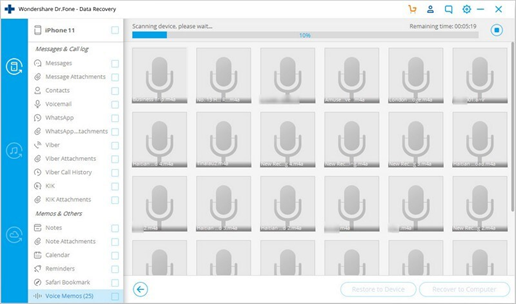
- Now the software will read your ios device. Keep patient as this can take some time.
- Now select 'Photos' or 'App Photos' and then click "Start Scan".
- You will see both stored and deleted content listed on the left-hand side of the screen.

- You can also see the number of recovered data from the list.
- Now click on the “Only show the deleted” and you will see all the deleted photos from your iPhone.
- Track the Snapchat photos you want to recover from the preview.
- Finally, select 'Recover to Computer” and you will get your images back.
And, if you have backed up your data in iTunes/iCloud, then you can also recover them from the app. Just follow the first 3 steps from above and then select 'Recover from iTunes Backup file' or 'Recover from iCloud Backup file'. Now, click on the “Start Scan” and then follow the same steps from above.
Method 2: Recover snaps from the recently deleted folder
If you accidentally delete your Snapchat photos from your iPhone, then this is the best option for you. iPhone has a built-in feature where it internally stores your deleted photos for 30 days. To restore the photos from there do these steps:
- Go to Photos app > Albums > Recently Deleted.
- Select the Snapchat photos, you want to restore.
- Finally, tap the “Recover” option, and you are done!
You can also restore the Snapchat photos and videos if you had backed up your data using iTunes/iCloud. But this method is a little bit risky because the restoring process will erase all data and settings on iPhone. So, our advice would be not to do it. Try any of the two methods and we hope by doing the exact procedure you will get your problem solved.
Summary: Recover Snapchat on iPhone 6
- Open the App Store on your iPhone.
- Tap search at the bottom of the screen.
- Search for the word "Snapchat" in the search box that appears.
- Tap on the app to open its description page.
- Scroll down until you see an "Open" button.
- Tap on "Open", and the Snapchat will start again.