If you made a mistake by deleting some files from your Mac, and want to get them back, in this post, I will show you how to recover replaced files on Mac. Here are several easy ways to recover deleted photos, messages, notes, contacts and more on Mac.
Replaced your original file with a new one? Want to recover the original file? Then this article is everything that you need.
Sometimes, mistakenly we overwrite old files with new files. It is one of the most common mistakes among mac users as well as windows users. Though macOS warns its users before making such mistakes, unfortunately, many of them ignore the warning and lose their files.
So, it's true that overwritten files are lost, but another truth is you can actually recover your replaced files. But for that, you will have to know the proper ways of doing the job. That's why we have come up with four practical methods for recovering replaced files.
4 Ways to recover replaced files
To save your energy and time, we have done extensive research and found four mind-blowing ways to retrieve your lost files. Let's take a look at those.
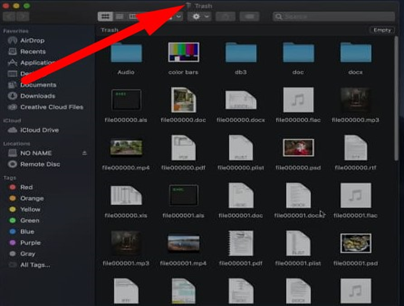
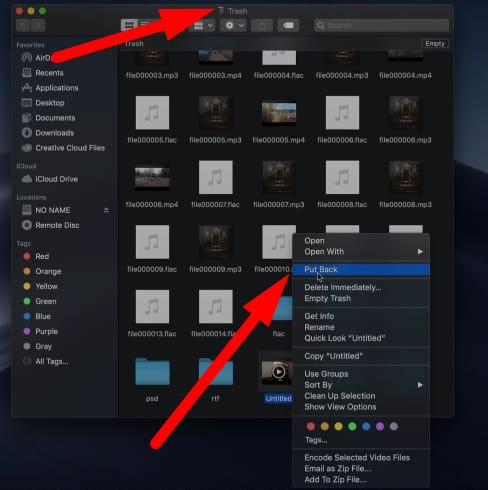
Trash bin
A recent study conducted with ten thousand mac users, shows that almost 86 percent of users don't clean their trash bin at least once a month. This means the trash bin holds all the files you delete knowingly or unknowingly. So if you have replaced any file with a new one, you should look at your trash bin first. If you find it there, just click on it and put it back to the desired location.
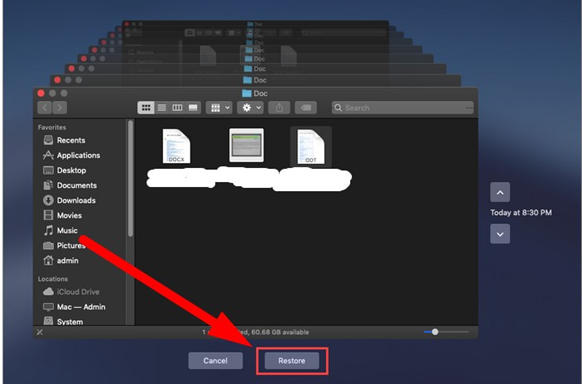
Using time Mac time machine
Local backups can be very prominent at times. Time machine is the local backup system of the MacBook. It creates backups of your files on your hard drive. And once you open it, it will let you go back in time to see any older file along with its location. You can quickly recover your files from there without any complications.
Cloud backups
Nowadays, almost everyone uses cloud storage services like Dropbox, google drive, google photos etc. These types of cloud storages keep a history of your data. So if you have lost any files, photos or videos from your Mac, don't get tensed you may recover it from those cloud backup services. And the process is also very easy. All you got to do is just go to the cloud service that you use. Find the file or document that you are looking for. And restore it to your MacBook. That's all, and now you have your file back.
Third-party software(Disk drill)
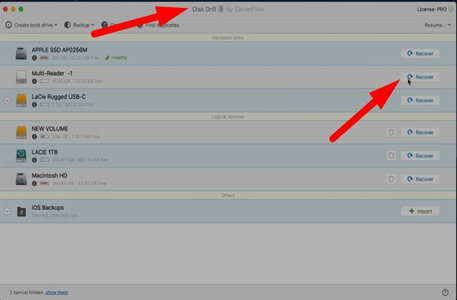
With the rapid improvement of our technology, you can now retrieve any file, folder, or data with a third-party application. Disk drill is one of the most famous data recovery software among mac users. You can use it to find your lost files. And the software is also easy-operable. So you won't face any complications with it.
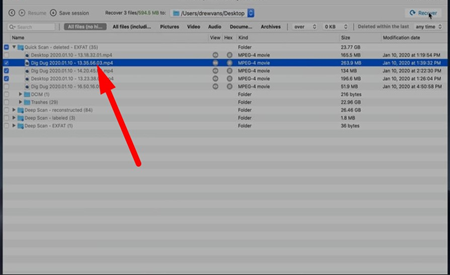
After launching the software, click the "search for lost data" option. It will locate the overwritten files. Then a list of recoverable files will appear before you. Now choose the files that you want to recover and click the recover button. After the recovering process, you will get your files at the desired location.
Things to keep in mind
- When you replace a file with another file that holds the same name and same file format, the chance of retrieving the older file becomes null.
- If you replace a folder with another folder, the files from the 2nd folder will be lost. And retrieving chances are meagre.
- Always try to use cloud storage. Because they keep track of your every data.
Summary: Recover replaced files on Mac
- Go to the Trash.
- Select Finder and click on Empty Trash.
- Open Time Machine from your dock or in Applications.
- Select Enter Time Machine from the Time Machine menu.
- Choose a specific backup from the timeline at the right side of screen.
- Track down your file using the Finder window, which looks just like it normally does.
- Find the file you want to restore and click Restore.
