What Are The Procedures To Put An IPhone 8 Plus In Recovery Mode?
Introduction
This post will give you the step by step procedures to put an iPhone 8 Plus in recovery mode. First, let's go through a quick review of the recovery mode. As you know, this is a special mode for iOS devices including iPhones and iPads that allows users to perform advanced operations on the devices when they are connected to iTunes or an Apple device. When your iPhone or iPad is locked or frozen, you can use this recovery mode to solve some problems.
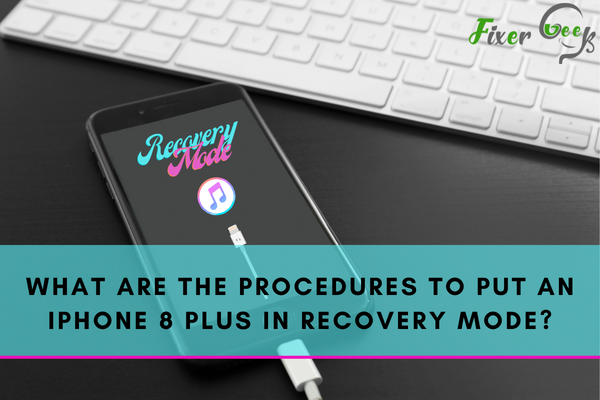
iPhone recovery mode is generally used for troubleshooting. People also prefer it when an iPhone gets stuck on the Apple logo screen for a broadened period of time or when it becomes unresponsive due to any other reason. Apple’s previous versions’ recovery mode was a piece of cake. But in the case of the iPhone 8 plus, you have to follow a particular set of protocols to reach the recovery mode. It is advisable to be conscious of both your iPhone and your computer while following this process.
In this article, we will be using DFU (Device Firmware Upgrade) mode for restoring your iPhone to its factory settings.
What will you need?
The first thing you have to make sure of before setting your iPhone 8 plus into recovery mode is to gather all the things that you will need to achieve the goal.
- It is essential to have access to a computer including Mac or Windows.
- The latest version of iTunes installed in your iPhone 8 plus.
- And a lightning USB cable.
Now follow these steps carefully and try not to miss any of the steps:
STEP 1: Create a connection between your iPhone and your Mac or PC
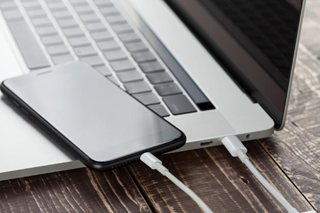
After getting all the equipment the next thing to do is connect your iPhone 8 Plus to your Mac or PC. Use the USB to connect both the parties. You have to wait till it gets connected completely. After the secure connection, it opens iTunes on its own. If it doesn't open automatically, you will have to do it manually.
STEP 2: Boot your iPhone in Device Firmware Update (DFU) mode
Before moving any further, you should keep in mind that if by chance your iPhone enters into recovery mode by displaying "Connect to iTunes" on its screen, then you will have to repeat the whole process that is from step 1 to the rest.
Therefore, you should not proceed further without reading the steps carefully. Read and then implement the following steps: It is mandatory to quickly press the volume up button followed by quickly pressing the volume down button.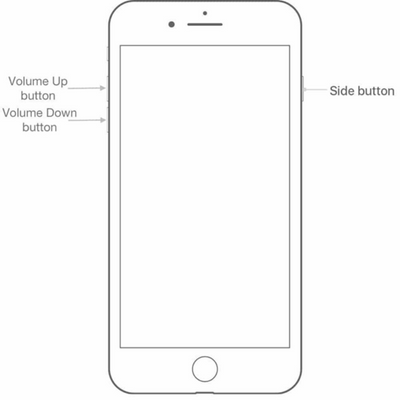
The next step is to press the side button (also called the power or wake button) and hold it until the screen goes black. Release the side button after the screen’s blackout.
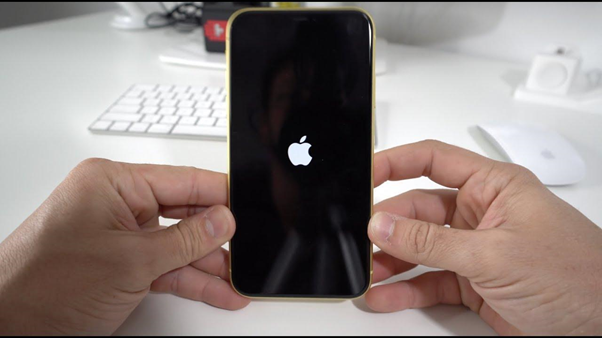
After that, quickly press both the side button and the volume down button together and hold them for around 5 seconds. After 5 seconds, release the side button without leaving the volume down button. You have to hold the volume down button for at least 5 more seconds.
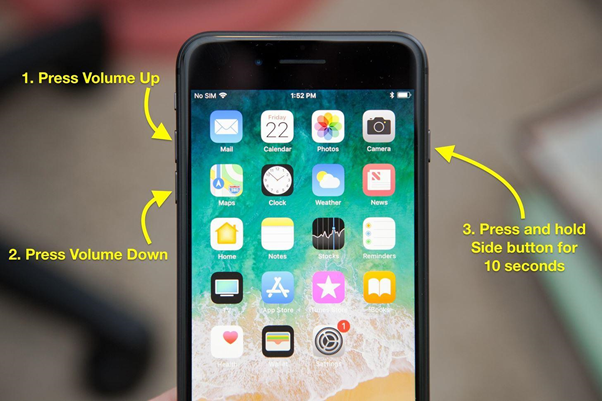
During the final step, you have to pay attention to your computer screen. If a window appears displaying that iTunes has detected the iPhone in recovery mode, then this is the sign that you are doing it right.
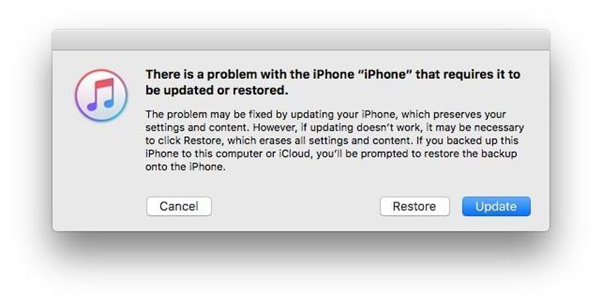
Once you click on the update button, iTunes will try to reinstall iOS on your iPhone 8 plus. The reinstallation will happen without erasing your data. You should note here that you will lose all your data on your iPhone when you reset it, especially if you have not backed up your data.
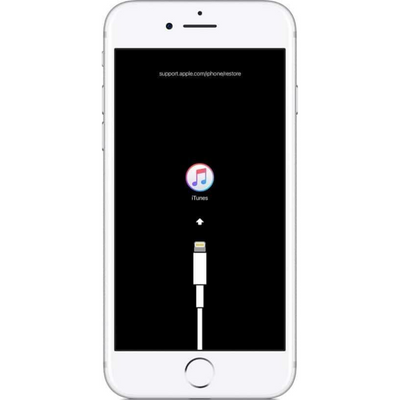
If you have backed up your data, then you need not worry. You can restore it at any time. Also, if the downloading takes more than 15 minutes, then your iPhone will exit the recovery phase and you will have to repeat the whole process.
The final step is to set up your iPhone 8 plus when your update or recovery process is over.
Summary: What are the procedures to put an iPhone 8 Plus in recovery mode?
- Open iTunes on your computer and connect your iPhone 8 Plus via cable to the computer.
- Now you should press the side button until the "slide to power off" slider appears.
- When the slider appear on the screen, slide it to turn off your phone. Then wait for 30 seconds.
- After that, press and hold down both the side button and volume down button at the same time for 10 seconds.
- If you see the recovery-mode screen, release both buttons.
- You can find a pop-up window asking if you want to restore or update your phone. Go with Update to reinstall iOS without erasing your data and settings.
Conclusion
In this article, we have mentioned all the steps that you need to follow when you might have to use the recovery mode. These are some of the best effective methods that we selected to benefit the vast majority.