You have been using Google Chrome and you sometimes receive pop-up message from your browser. ''' CAUTION There is no internet connection, reload the page to continue.''' The notification pops up when your system encounters an SSL certificate error from a website. I guess there are many of you who are not familiar with what this kind of error means. In this article, I will tell you how to trust server security certificate.

There are millions of users over the internet who continuously browsing numerous sites daily. All those sites are not 100% authentic or secure. While you are browsing through different websites, you surely would like to prioritize your security first. SSL (Secured Socket Layer) certificates help you to establish a secured system that helps you to go through trusted sites and warn you about less trusted.
To go through the security measure for safe browsing you can install SSL certificates on your computer.
Here, we are going to direct you to install the SSL certificates and have a safe and trusted server browsing.
Obtain SSL Certificate
You can obtain an SSL certificate for your server from a Certificate Authority. Plenty of sites provide certificates. You can get both paid and free certificates. Here we’ve mentioned a few for you-
- HostGator
- Get SSL
- Bluehost
- Green Geek
- Site Ground
- iPage
- Dream Host
Installation of SSL Certificate in Computer
After getting your certificate you need to install it on your computer. If you are using Microsoft Windows then go through the following steps:
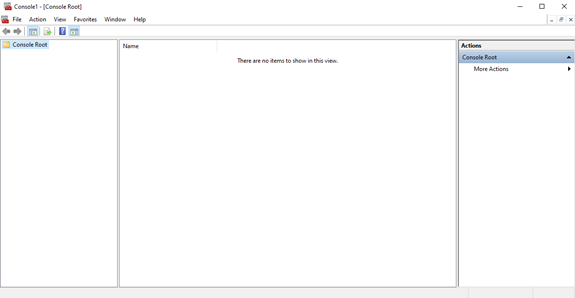
- Go to “Start Menu” or click on the search button and type “MMC”. It will launch the “Microsoft Management Console”
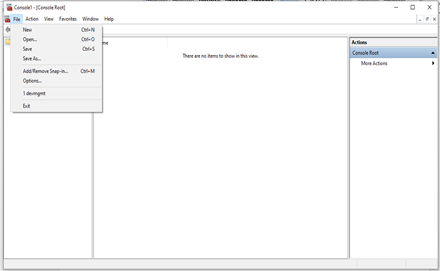
- Click on “File” and select “Add/Remove Snap-in”
- Now, go to “Certificates” that are included in the box under “Available Snap-in”. Select that option then click on the “Add >” button.
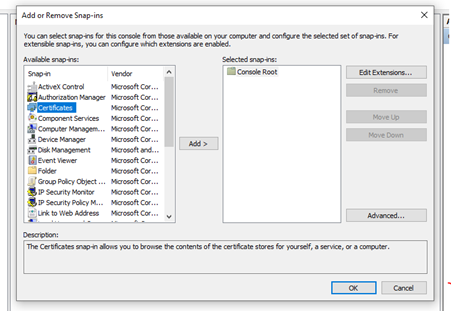
- When your select the “Add>” button and there will come options for you to choose from. Choose the “Computer Account” and click on “Next”.

- Now, tick on the “Local Computer” and click on the “Finish” option.
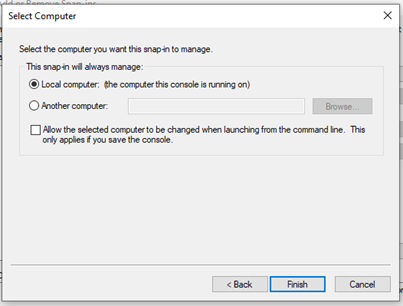
- Finally, click “OK”.
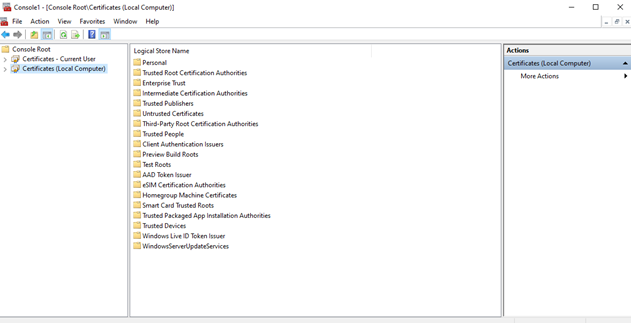
- Now, you will come to the main page. You have to double-click on “Certificates(Local Computer).
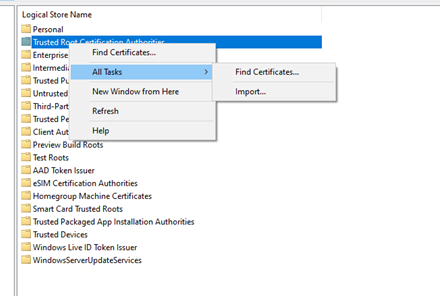
- There you will have another menu. From there choose the “Trusted Root Certification Authorities” and right-click on it.
- Another menu bar will pop up there. Just click on “All Task”.
- Click on the “Import...” button.
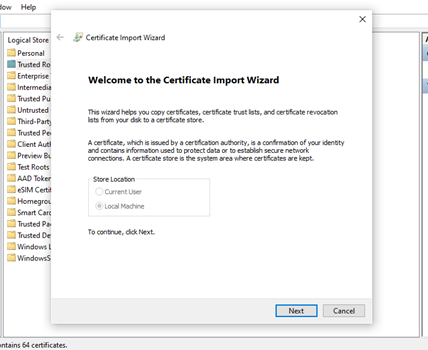
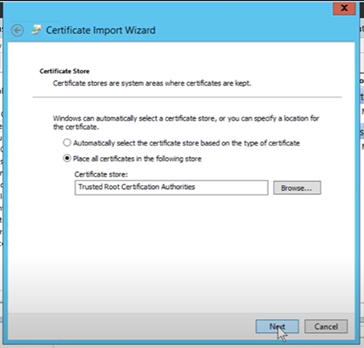
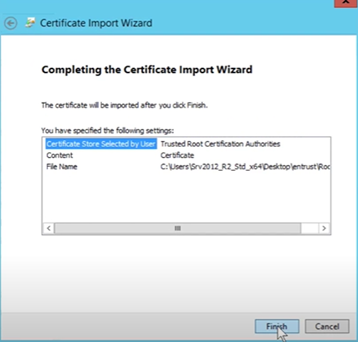
- Here another page will pop-up. You have to follow the instructions there. Now, according to the instruction click “Next”.
- Now, upload the “Root” file of your certificate and follow further instructions.
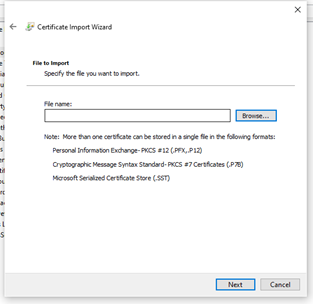
- Select “Place all certification in the following store”.
- Now repeat the same Process to import certificate for “Intermediate Certification Authorities”.
- Now that you have imported all the required certificates, exit the MMC while saving the changes.
Finally, you’ve successfully installed SSL Certificate for your computer.
Installation of SSL Certificate on Your Server
After installing SSL on the computer, you need to install the certificates on your server.
Now, we are going to follow the steps to do so:
- At first, you need to enable the “Server Manager”. So, go to Settings>Click “Apps” > Click “Manage Optional Features” > Choose “Add a feature” > Select “RSAT: Server Manager” > Press “Install”.
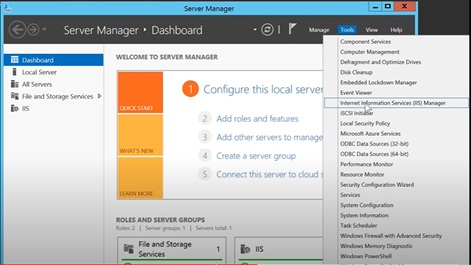
- Now, launch the “Server Manager” on your computer.
- Select “Tools” from the top right corner and click “Internet Information Service Manager”.
- Another page will pop up. From there on the left select the pointed option and then select “Server Certificates”.
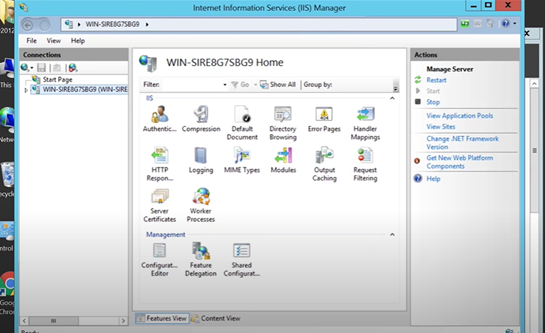
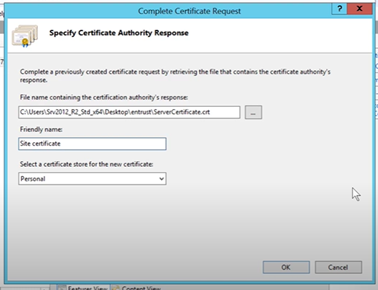
- Click “Complete Certificate Request” from the right side and upload the “Server Certificate” file in there. Also, provide a unique and friendly name and click “Okay”.
Now, you’ve successfully installed the certificate.
Binding Certificates to the Websites
After the installation of certificates in the server, you need to bind them to the websites if you have any.
For that-
Again go to IIS Manager> Go to sites folder on the left side and select the “Sites”> Select “test certificates” > From the right side select “Bindings”> Select “Add”> Select the type “HTTPS”> Under SSL Certificate select “Site Certificate”
Thus you complete the process and can have safe browsing.
Summary: How to Trust Server Security Certificate?
- Go to the Tools menu, select Internet Options and click on the Content tab.
- Select Clear SSL state and click OK.
- Surf to the web site you want to trust and add the certificate to your list of trusted root CAs.
- If that doesn't work, you can try uninstalling the browser completely, then reinstalling it (or deleting its folder).
- Start with a clean installation of your operating system - removing any software that may have been installed or modified since you first got your computer (e.g., anti-virus programs, Internet Explorer updates, etc.).
- Performing a clean boot on Windows 7/Vista will identify if any programs are causing issues in the background -- interfering with processes that could be related to SSL certificate problems in your browser.
- You can trust server security certificates by resetting them in your web browser settings, or by following these other steps if necessary..
