How to add animations on PowerPoint? PowerPoint allows you to create the most amazing presentations. With the help of the animations and transition effects, you can make your presentation look more professional and cool. But did you know that there are more than one hundred different transition effects in PowerPoint and you can apply them to your slide within just a few minutes?
Microsoft PowerPoint is a crucial tool for creating and presenting data, ideas, and other information.
Thanks to this slide presentation app, mentors, trainers, and similar professionals have successfully conveyed and reinforced their message to the crowd.
To make a compelling slideshow and captivate your audiences, not only should you add plain text and background objects, but also incorporate animations and other effects.
Below you will discover how to apply animations to text and objects on PowerPoint. You will also learn a few details on the different types of animation effects.
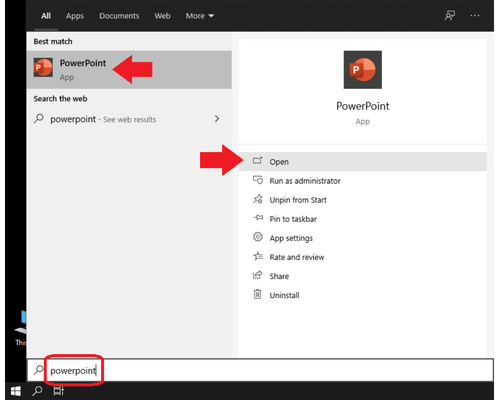
Starting Microsoft PowerPoint
- Click on the Windows Start or Search button (then type PowerPoint), and click on PowerPoint to open the app.
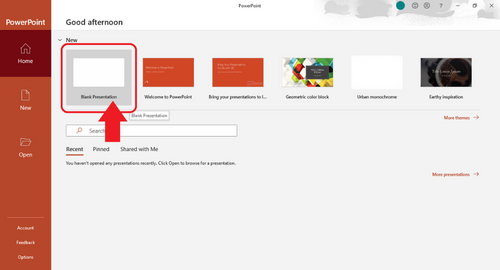
- Click on Blank Presentation to create a slide from scratch.
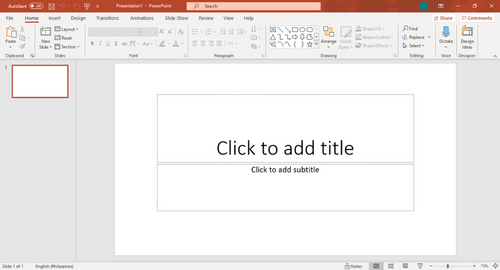
Inserting an Animation Into an Object
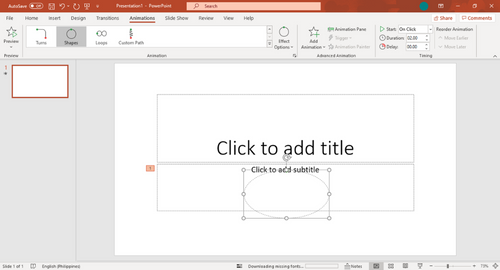
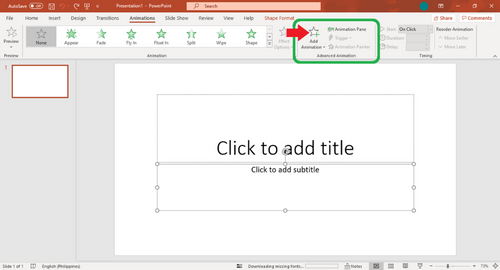
- Click on an object to be animated.
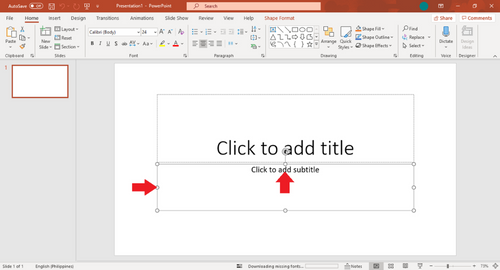 In the example above, the text object saying "Click to add subtitle" is selected.
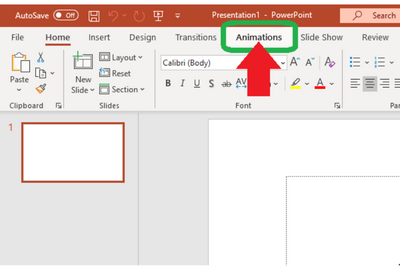
 - Click on the Animations tab, located on the uppermost part of the app window.
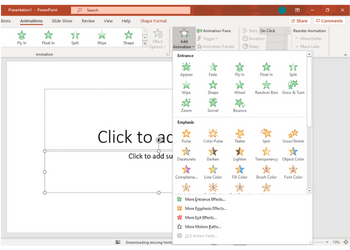
- Click on the dropdown arrow within the Animation group, as indicated on the next screenshot.
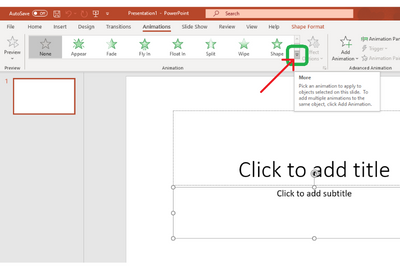 This dropdown button will show you "More" animation effects.
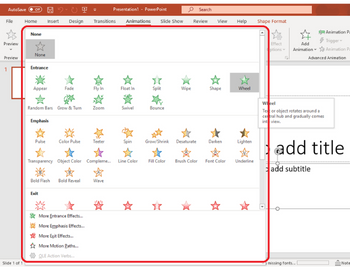
Animation Effect Types
There are four types of PowerPoint animation effects:
1): Entrance
The entrance animation effect manages how an object shows up on the slide.
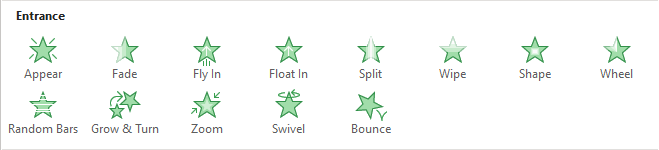
A case in point is the Bounce animation. Applying Bounce to an object will make it fall onto the slide and then spring many times.
2): Emphasis
If you click the mouse button on the slide and an object is on it, the emphasis animation triggers.
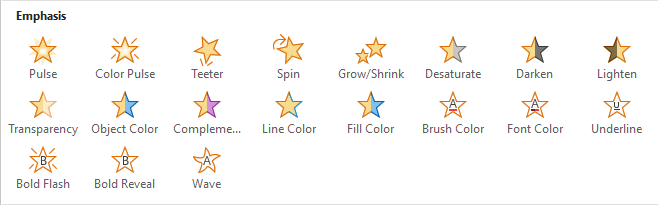
Choosing the Spin effect, for example, will make an object turn like a pinwheel once you do a mouse click on the slide.
3): Exit
How an object should exit the slide falls under this animation type.
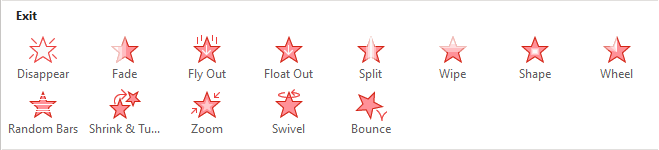
For instance, the Fade effect will make an object disappear gradually.
4): Motion Paths
The motion path effect controls the movement of an object move along a predetermined track within the slide.

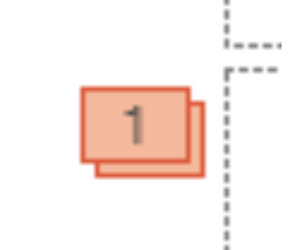
Let's say you selected the Shapes motion path. Once we run the slideshow, the applied object will move along the border of the motion path shape. The broken line is referred to as the border in this scenario.
Adding Several Animations
- Click on an object.
- Click on the Animations tab, just like you did when adding an animation to an object.
- Hover your mouse over the Advanced Animation group, and click on Add Animation to see available options.
- Choose your preferred animation effect.
- Click on that same object, repeat Steps 2 and 3, and select a different animation effect.
The applied object will have various numbers for every effect, provided that that object has multiple effects. These numbers denote the order in which the animation effects will take place.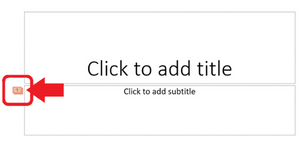
Sorting the Animation Order
- Click on the icon that appears to be stacked cards with numbers on them.
 Then, the Animation Pane will show up on the right-hand side of the app window.
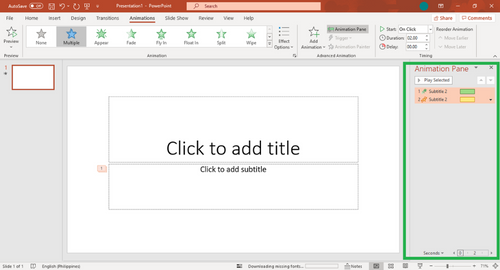
- On the Animation Pane, select an item you want to change.
 After choosing the desired item, the Move Earlier or Move Later button within the Timing group becomes clickable.
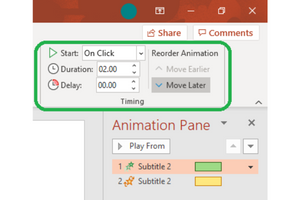
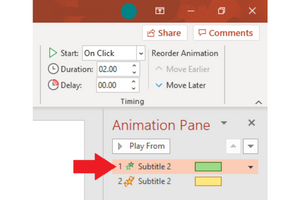 There are instances wherein both Move Earlier or Move Later buttons will become available. These buttons can become accessible if you have multiple selections within the Animation Pane. You click any option between the first and last selections.
 - Move your mouse cursor to the Timing group. Below the Reorder Animation area, click on Move Earlier or Move Later to modify the ordering.
Summary: Add Animations on Microsoft PowerPoint
- On the Home tab, in the Animation group, click Animation.
- Click the animation effect that you want to apply to your text or object.
- Click Preview.
- To change the delay time, on the Animations tab, under Timing, adjust the Delay setting.
- To change how quickly an animation moves across the slide, on the Animations tab, under Speed, select an option.
- To change how long it takes for an animation to play, on the Animations tab, under Duration, adjust the timing of when you want it to end.
- Go to any other slide in your presentation and move the pointer over each object on a slide that has an animation applied to it. Notice how each object shows according to its timeline setting. The objects will show as they would during a slide show presentation. The objects won't animate until you start your slide show presentation.
Conclusion
By adding these effects to your PowerPoint presentations, you can help keep your audience engaged in what you're presenting. Hopefully, with the steps mentioned above, you learned more about using these animations to your advantage.
