Dark mode is a new feature introduced in Windows 10 that makes the UI background dark and text white. The feature was introduced to make it easier for you to focus as you work on your computer throughout the day. In this guide, I’ll show you how to enable dark mode in Windows 10. This will allow you to have a natural way of concentration that allows you to have a better development experience.

MICROSOFT released several upgrades for the new version of its WINDOWS 10 OS. And one low-awaiting feature comes available with a personalized dark theme. Overall working condition on PC becomes more user-friendly with the low-light interface.
Therefore, we highlighted the tricks on setting dark mode for your PC. With some simple clicks, you can enable & disable the feature anytime.
Before Getting Started with the Process
Apart from the basic theme, you can customize the overall appearance of accent & apps. The whole customization can induce a better interface. Of course, different versions of WINDOWS 10 slightly vary in terms of its interface.
Essential factors should imply the process with absolute simplicity. For enabling WINDOWS 10 dark mode, you’ll have to keep in mind –
- Working PC/Laptop with installed WINDOWS 10 OS.
- Preferably the latest version to upgrade the interface.
Stepwise Processing with WINDOWS 10 Dark Mode
As mentioned, you should customize the related settings to experience a better interface. Likewise, it starts with the background theme, followed by the others.
Choosing the Color Theme
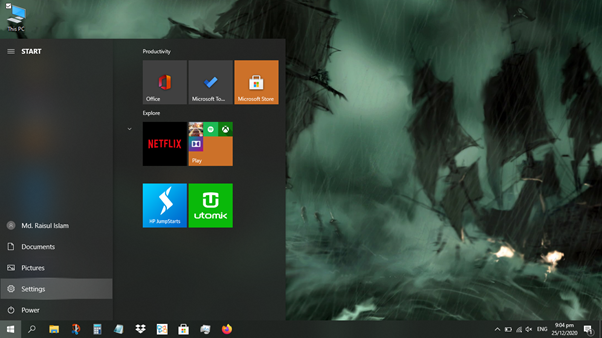
- Simply click on the ‘Start Menu’ to open all the options.
- Check the downside section to tap on the ‘Settings’.
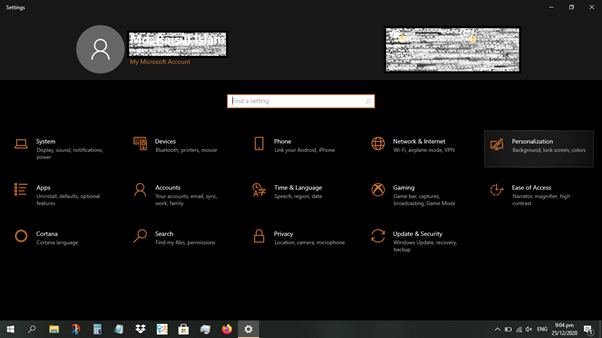
- A new window gets opened, with all the basic options.
- Make a tap on ‘Personalization’ to open its section.
- Categorized settings will open; click on the ‘Colors’.
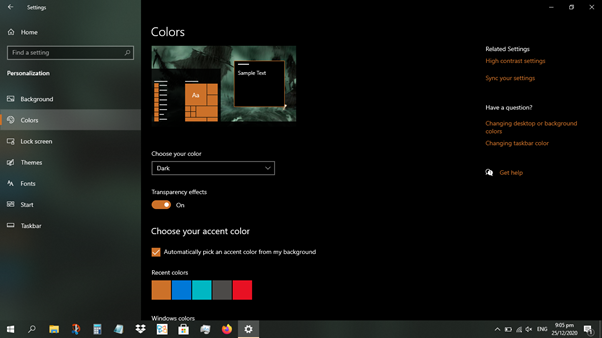
- Tap on the ‘Choose Your Color’ to see its drop-down list.
- A total of three options is available – light, dark & custom.
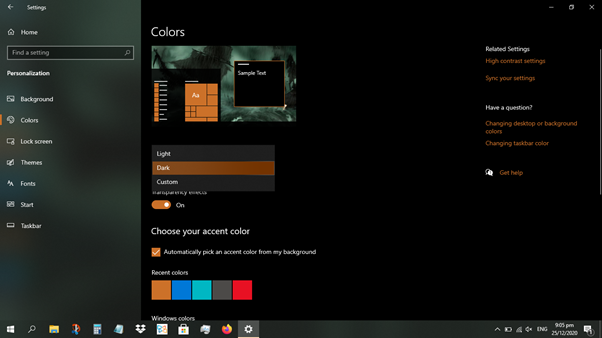
- Set the color to ‘Dark’ for launching the low-light theme.
Choosing an Accent Color
- Right below the color theme, you’ll find several squares with different colors.
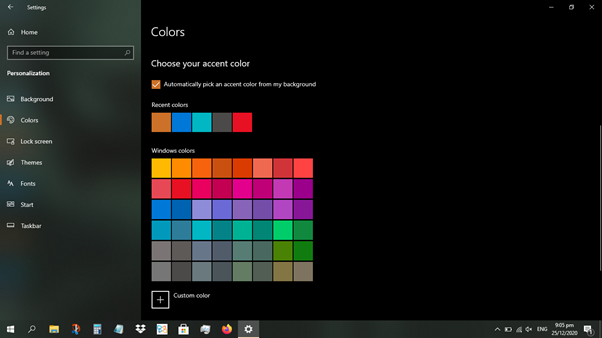
- Click on any particular colored square to observe the overall change in the interface.
- Start playing with the available options; pick your favorite from the squares.
- You can even choose customized colors; press on the ‘Custom Color’ option.
- Apply the accent on start, action center, taskbar, title bars & window borders.
Additional Customization Associated with Theme
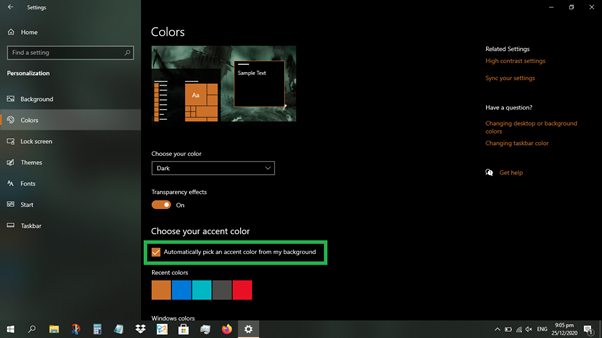
One particular fact goes with the slideshow on screen for the background. You can check the box, referring to ‘Automatically Pick an Accent Color from My Background’. The result comes somewhat invigorating, changing the colors to match the changing background.
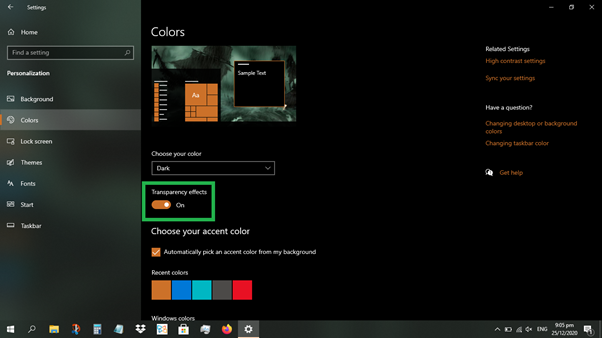
There comes one singular checkbox right below the ‘Color Theme’. It allows immediate activation/deactivation of ‘Transparency Effects’. It concerns with the transparency of the taskbar. Switching on the effect will keep the background visible through the taskbar.
Affected Apps Upon Dark Mode Activation
Customized color affects explicitly almost all the built-in app interfaces. File Explorer, Menu & Settings will automatically switch to a dark theme. It also includes - Calculator, Alarms & Clock, Mail, Calendar, MS Store, Sticky Note, 3D Viewer, XBOX & others. But notepad, task manager, or search box will hold its default appeal.
Summary: Enable Dark Mode in Windows 10
- Open Settings
- Click Personalization
- Click Colors
- Turn on the Dark Mode switch.
