- Enable or Disable DLNA network
- 1). Open the Classic Control Panel
- 2). Network and Sharing Center
- 3). Advanced Sharing
- 4). All Networks
- 5). Media Streaming Options
- 6). Turn on Media Streaming on the next page
- 7). Choose your Device
- Disable DLNA media sharing
- Summary: enable/disable DLNA server in Windows 10
- Conclusion
DLNA server is a feature of Windows 10 that enables your computer to serve media content to DLNA enabled devices. This can include game consoles, smart TVs and stereos and allows you to stream movies, pictures and music from your computer to the device. However, if you’re not using this feature or have some issues with it after updating to Windows 10, this guide will help you disable DLNA service in the operating system and remove it from the list of network services.

Technology is a gift for humanity all of us behold. Most of us now prefer to have everything on a bigger screen for better graphic quality. For Windows users, DLNA or Digital Living Network Alliance can be a helpful tool for connecting devices to their computers or laptops.
Through DLNA, everything on a small screen can be optimized. However, how do we exactly enable or let alone disable it?
Enable or Disable DLNA network
1). Open the Classic Control Panel
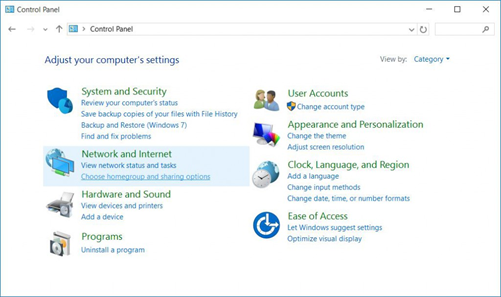
The Control Panel allows a user to change the settings for Windows. Here, you can tweak the interface of your laptop or computer. There are various ways to open the control panel on your Windows PC:
- Open Control Panel from a Full-Screen Start Menu All Apps
- Open Control Panel from the File Explorer’s Address Bar
- Open Control Panel from the Run option
- Open Control Panel from the Start Menu All Apps option
- Open Control Panel from Search
- Open Control Panel from File Explorer Navigation Pane
Through the aforementioned ways, you can open your Control Panel through whichever means you prefer.
2). Network and Sharing Center
Because we live in a technological world, the internet is a necessity. Thus, we sometimes feel the need to make certain adjustments to our internet connection. You can do this by going to the Network and Sharing Center.
In the case of setting up your DLNA, you have to go to the Network and Sharing Center in the Network and Internet tab after opening the Control Panel.
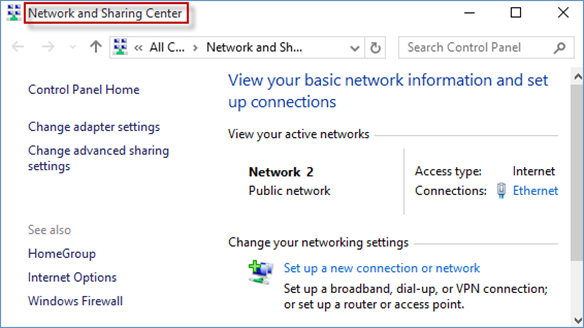
3). Advanced Sharing
After you are already in the Network and Sharing center, look at the left side of your screen and you will see three clickable sections: Control Panel Home, Change Adapter Settings, and Change Advanced Sharing Settings. From these three, make sure to choose the Change Advanced Sharing Settings.
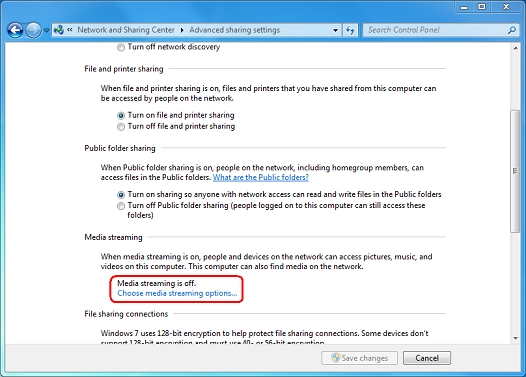
4). All Networks
Right after clicking the Change Advanced Settings tab, you must be able to see the interface in the photo above. You can do this by hovering your mouse over and expanding the section of All Networks.
5). Media Streaming Options
The next thing you have to do is to click the link saying, “Choose media streaming options.” You must be able to see it from the expanded interface of All Network.
6). Turn on Media Streaming on the next page

7). Choose your Device
The final step to enabling your DLNA on Windows 10 is to name your multimedia library. This will give you the chance to select which device will be able to read it.
Right after clicking “OK,” the devices you wanted to connect to your Windows 10 will become visible.
Disable DLNA media sharing
You may now wonder how to disable the DLNA media sharing on your laptop or computer.
1). services.msc
First, you have to go to the leftmost side of your screen and locate the search bar. In there, type in “services.msc” at the taskbar.
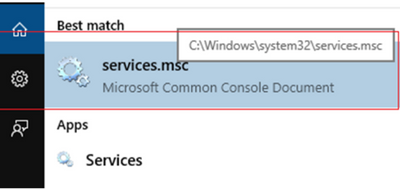
2). Click on the services.msc
You should be able to see the one provided in the photo. This window will open once you click the services.msc at the taskbar.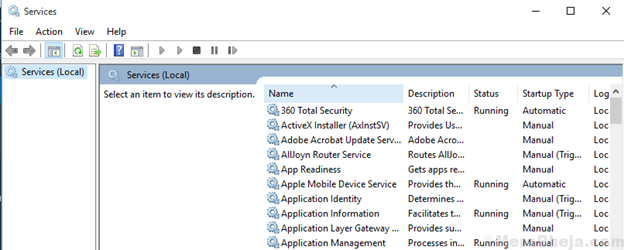
3). Media Player
Locate the Windows Media Player Network Sharing Service and click it.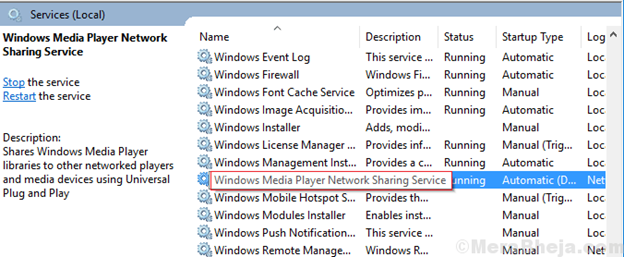
4). Startup Type
After double-clicking on Windows Media Player Network Sharing Service, a pop-up will appear. Here, you will find the Startup Type. Choose “Manual” from the dropdown menu.
5). Service Status
A service status then appears right after choosing “Manual.” From the four buttons below the service status, choose Stop.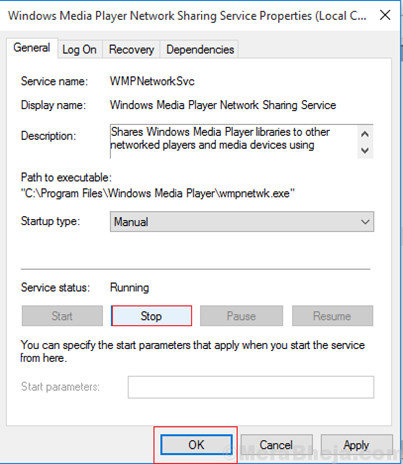
Summary: enable/disable DLNA server in Windows 10
- In the search box on the task bar, type services.msc and select Services.
- Scroll down and double-click on UPnP Device Host.
- In the UPnP Device Host Properties (Local Computer) window, do one of the following: To turn off UPnP Device Host, select Disabled, then click Apply and OK.
- To turn on UPnP Device Host again, select Automatic from the Startup type drop-down menu, then click Apply and OK.
Conclusion
There you have it! You have no disabled DLNA in your Windows 10. With this, you can now enable/disable your DLNA on your PC and connect your other devices to it.
