If you want to force delete a file in Windows 10 and delete it permanently then simply follow the steps given below. You can right click on any file and try to delete it. The system will show you the confirmation dialog and ask you to confirm the file deletion. If you confirm it, the file will be deleted but only till next time you restart your system. The files are marked as deleted but really they are not deleted. They are still in your drive partition waiting for recovery. If you don't want to risk your files from getting recovered just follow the steps given below and force delete any file permanently.

The Windows 10 operating system allows users to force delete a file. This is done by checking a box that does not allow the file or folder to be recovered. The file or folder that is deleted using this method cannot be recovered using tools such as those found in File Explorer or Data Recovery Software. This article will show you how to force delete a file in Windows 10 without affecting any files that you want to keep on your computer.
Windows 10 has two major interfaces. One is the new Windows Store app introduced with Windows 8. The other one is very familiar to Windows 7 and XP users, called the “Traditional” interface. Lets not get into all that. Just remember that these interfaces have different ways of deleting files and folders. In this article we will show you different methods on how to Force Delete a file or folder in Windows 10.
Are you encountering a problem deleting a file in Windows 10 no matter how many times you try? Well, this happens from time to time especially if the file is being utilized by another program. If you are stuck with a file that you don’t want, the good news is that you can force delete.
In this article, we will look at simple ways to force delete a file in Windows 10.
Method 1: Force Delete a File Using Command Prompt
One way to force delete a file in Windows 10 is through the command prompt. Here is a step-by-step guide:
- On the keyboard, input Windows + R keys to open Run command.
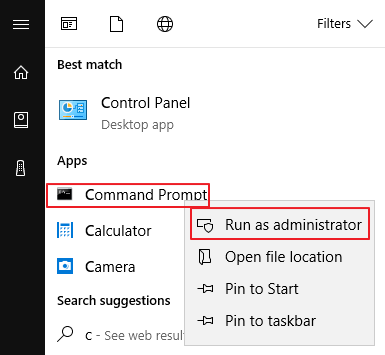
- Input cmd to open the Command Prompt. Alternatively, you can search for the command prompt from the start menu.
- To run the Command Prompt as administrator, press Ctrl, Shift and Enter simultaneously.
- Then, enter the command line of the file you want to delete. To do this, enter del then the location of the file. For example, del c:usersjanedesktoptest.txt and hit Enter.
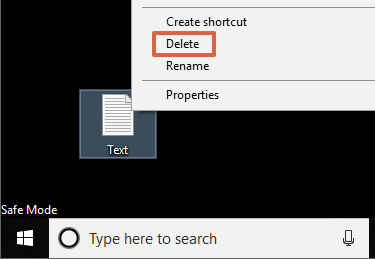
Method 2: Using Safe Mode
Starting Windows 10 in safe mode can help unlock and force delete files. This is because this diagnostic mode makes it possible to troubleshoot Windows OS.
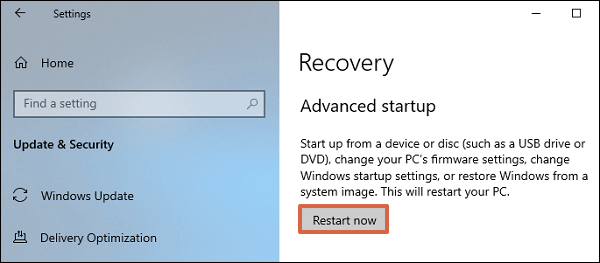
- Go to the start menu and choose the Settings option.
- Then go to Update & Security, then Recovery. Click Restart Now under the Recovery tab.
- Choose an Option window will open. Navigate to Troubleshoot and click on it.
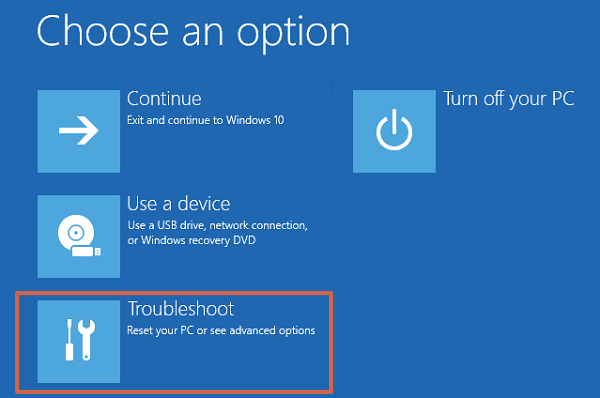
- Then click Advanced Options then Startup Settings then Restart. This will prompt your Windows 10 computer to restart.
- When it restarts, press 4 or F4 to enter safe mode.
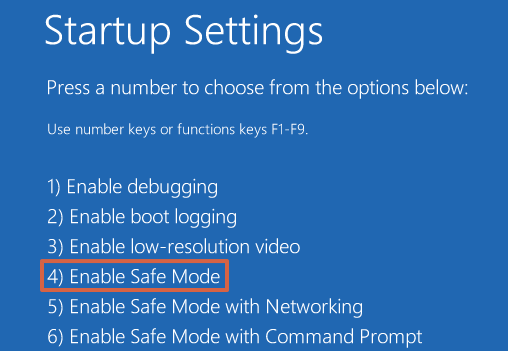
- When safe mode opens, force delete the file that cannot be deleted.
- Lastly, exit safe mode by restarting your PC.
Method 3: Use Unlocker
If a file can’t seem to get deleted on your PC, opt to use unlocker. This a third-party tool that removes files, including those that can’t be deleted by Windows. To delete these files:
- Download and install unlocker in your PC.
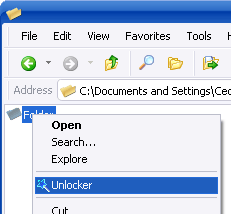
- Once installed, go to the file that you want deleted and right-click on it.
- Select Unlocker from the options provided.
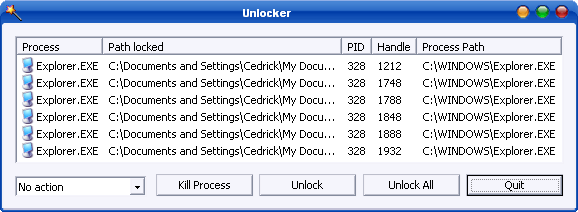
- Doing this will open a list of processes connected to a particular file.

- To unlock the file that you want to delete, click Unlock All. If this doesn’t free the file, click Kill Process.
Method 4: Change File Ownership
Changing the ownership can help delete a file that cannot be deleted. Follow these steps:
- Go to the file that you want to delete and right-click on it. Then choose Properties from the options provided.
- On the top menu, go to the Security tab and click or tap on the Advanced button.
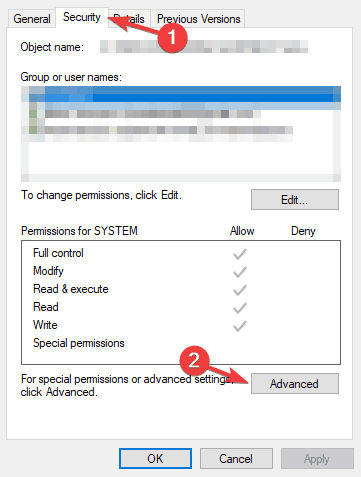
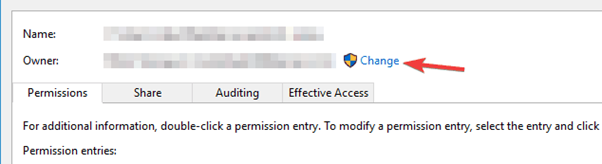
- This will open the Advanced Security Settings window. On it, locate Owner or Trustedinstaller.
- Click on the Change button next to it.
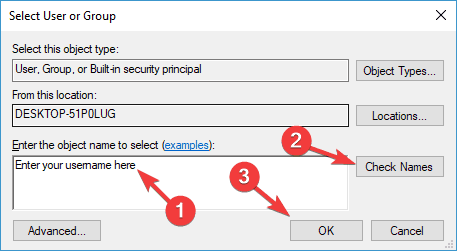
- Input the username of your choice and the press Check Names to verify if the name is okay. Then press OK. This will change the name of owner of the file.
- On the Advanced Security Settings window, you will see an option Replace owner on subcontainers and objects. Click on the checkbox and then click Apply. Afterwards, close this window.
- Then, right-click on the file to open the Properties tab once again.
- Go to Security then Advanced.
- Below the Permissions tab, you will see the Replace all child object permission entries with inheritable permission entries from this object option. Check that checkbox.
- Then, click Edit
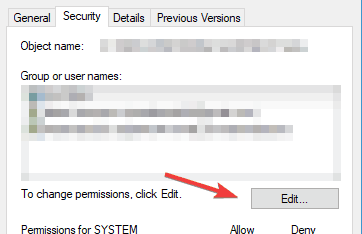 .
. - The Permission Entry window will open. Check Full Control and click OK.
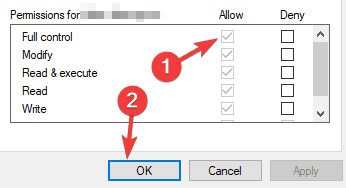
- Try deleting the file once again.
Summary: Force delete a file in Windows 10
- Search for the file by its name.
- Long-press on the file to select it, then click the trash can icon at the bottom of the screen.
- Again, long-press on the file and in the menu that appears, tap "Delete."
Conclusion
These are some of the best options for getting rid of a stubborn file. With this detailed step-by-step guide, you should be able to force delete the file in your Windows 10 computer.
