How To Setup Gmail In Outlook And Mail Apps In Windows 10?
Setting up Outlook, Windows 10 Mail app and Gmail account requires two steps. First you need to set up a Gmail account in Outlook. Then you need to connect your Outlook account with Win10 Mail app or Livemail Windows application. I'll walk you through the step by step process for setting up Gmail in Outlook, Windows 10 Mail app and Livemail.

Looking for the right schedule and contacts on different record-keeping apps can be very tiresome. Fortunately for us, Windows 10 now has a syncing feature by just using your work or personal email depending on what type of computer app you are most comfortable with.
Once you add your Google account on any one of these apps, then integrating your email account on the other apps will go easily.
Steps to follow
Syncing your Gmail account to your email client is very important these days especially when you’re working on the go with no time for logging in on your browser. Applications like Outlook, Mail, and Exchange are only a few examples of email clients which most people use in a corporate job setting.
Let’s start by opening the Mail App. Type Mail on the search bar and open it. It should be able to look like this.
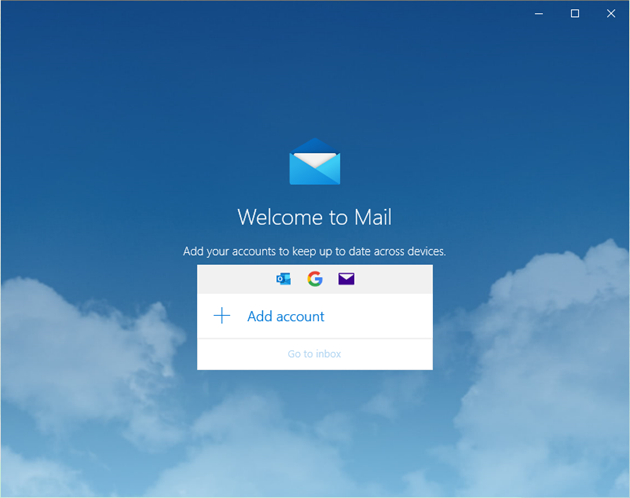
Next, click on the + Add account and choose your email provider. In this case, we will be using the Gmail service provider in signing in an account on our Microsoft Mail.
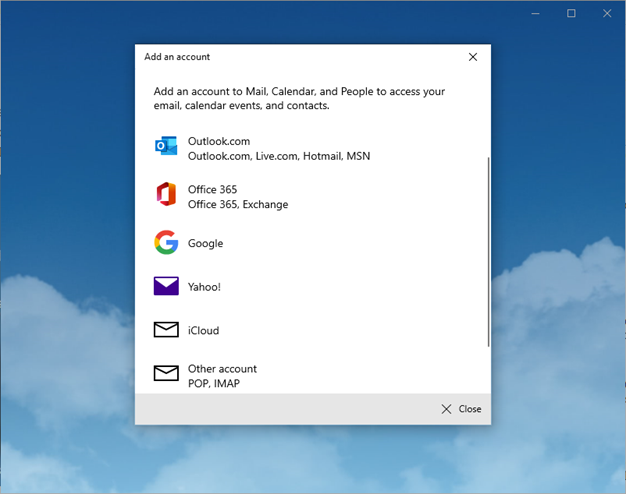
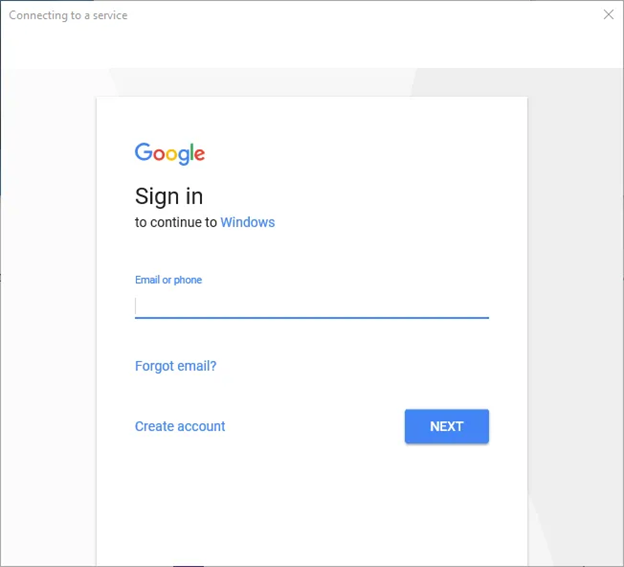
In this case, the sample service provider would be Google. Assuming that you already have your email account ready, type in your required information: email or phone and password.
If you do not yet have an account, click the Create Account button and provide the additional necessary details. Make sure to also have an unregistered mobile number for easier signing in and verifications.
When you’re done signing in to your account on Mail, your pop-up window app should look like this. Click Done and wait for your Gmail inbox to load into the app.
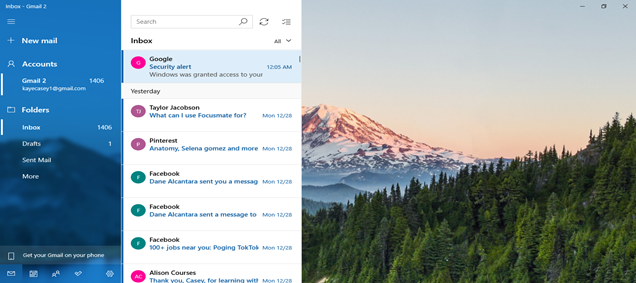
It might take a while for all of your messages to appear but when it does, your mailing inbox should look like this.
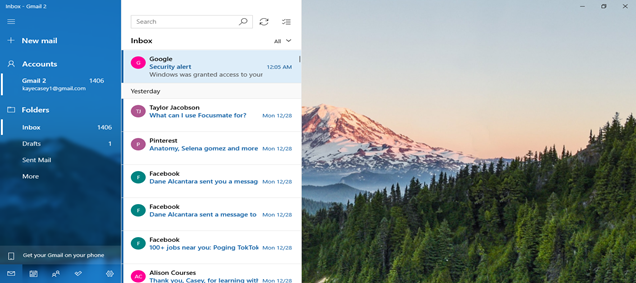
If not all of your email labels from Gmail are present on the left side of the app, click More. A panel will appear with the other labels. Right-click the label you want to include in your panel and click Add to favorites. This makes it easier for you to navigate especially when you are used to checking a specific label or subscription.
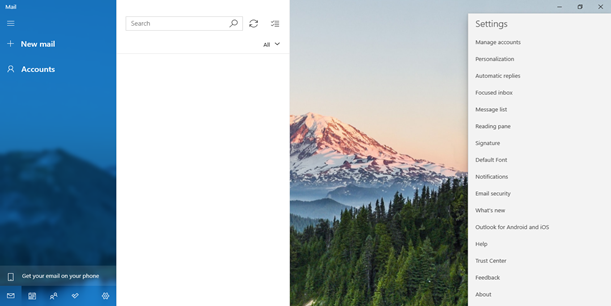
To synchronize your account with your Outlook, click on the settings icon then proceed to Manage accounts.
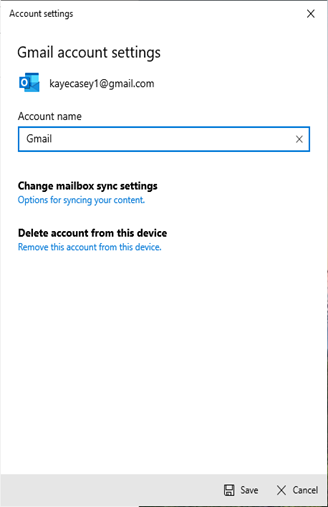
Click on the Change mailbox sync settings button.
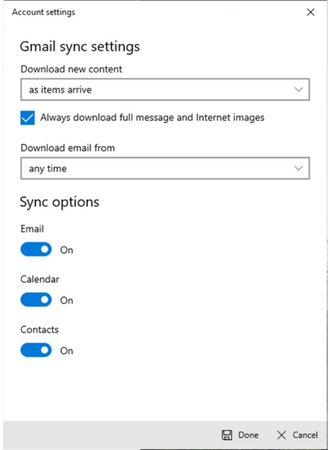
Tick the box indicating to always download full messages and internet images and turn on the sync options for Email, Calendar, and Contacts.
Finally, click done and save.
For Outlook on Windows 10, just follow the same procedure stated in setting up your Gmail on the Microsoft Mail application. Now that you’re all set, you can start reviewing your Calendar and People apps to check Google Calendars and Google Contacts by expanding the Mail or Outlook Window just like this:
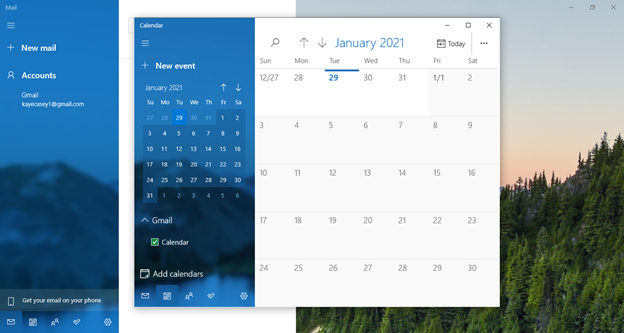
Once you’re done reviewing and doing some minor touch-ups, you can finally let your internet and device do the syncing. This is, by far, one of the most convenient ways of organizing one’s online workplace. Fortunately for all of us, tech companies will keep on innovating and creating user-friendly applications such as this to make our lives and workplace a little easier.
If you’re a busy person with a lot of scheduled meetings and work on your mail, the email client app will be the one sorting things for you. Scheduled meetings and deadlines will appear on the Calendar along with some important events and times. This set-up is great for people who are freelancers, have a job on the corporate ladder, or students attending their online classes.
Summary: Setup Gmail in Outlook and Mail apps in Windows 10
- Open the Settings app.
- Click Apps and then click Default apps from the left pane menu.
- Scroll down to the bottom and click the link that reads Choose default apps by protocol.
- In Mail app settings window, click Windows Mail under the Choose an app drop-down menu.
- Click OK to close Mail app settings.
- Launch Outlook from your desktop or Start Menu shortcut in Windows 10.
- When Outlook is launched for first time, it asks you to setup an email account. Click Next button to proceed further.
- Select Yes on the next screen and then click Next button again.
- On the Auto Account setup screen, enter your name, email address and password of your Gmail account and then click Next button.