When you are starting a business, there are a lot of essential things that you must do. One of them is setting up your Help Desk. You do not have time to deal with tons of emails asking for help which will distract you from other important tasks. It takes much time when each support email you answer by yourself. The best way to solve this problem is to set up Help Desk. This can be done very easily with the help of Zendesk tool.
Zendesk provides one of the most easy-to-install managment tools to customize customer relations.
Setup Zendesk
To set up your Zendesk account, you must be registered with Zendesk.com. You can just enter your email address and password and it will automatically create your help desk for you.
Let’s go and see how you can set up your help desk:
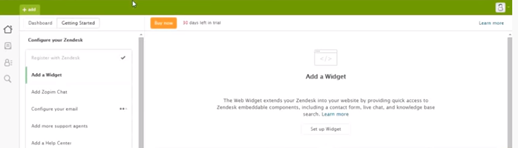
1). “Add a widget” option in the “Help” option on the right side of the screen.

To set up a widget click “Set up Widget” and “Get Started”. It will automatically setup your widget.
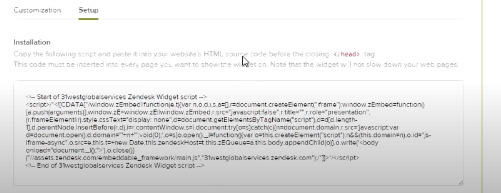
If you want to set it up, you can just copy the whole code. It is an HTML code which you need to integrate with your website. On the pages you need to integrate your widget, you can just integrate the code below the header. If you need to customize it, just click “Customization” and apply your changes.
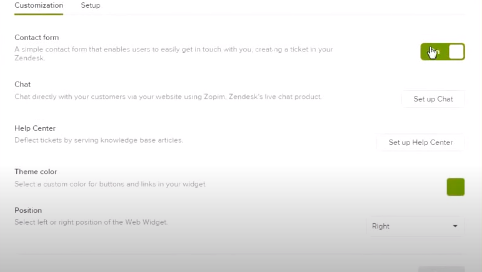
2). The second option is “Add Zopim Chat”. Zendesk provides chat options through Zopim.
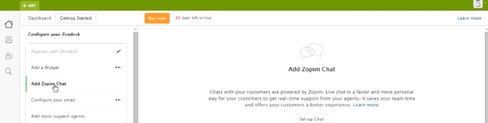
Click “Set up Chat” to start setting up your chat options. Click “Agree to terms and service” and “Get Started”.
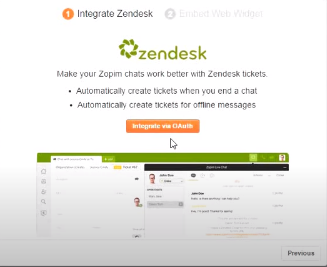
You must integrate via OAuth. It is the only option given through Zendesk. You can also use your provider.
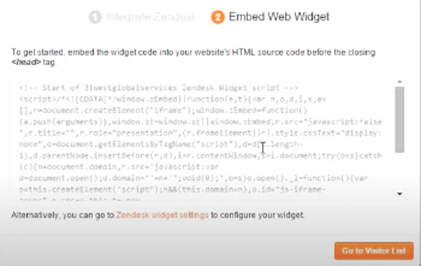
To embed the web widget like the chat option on your website, copy the code, and paste it into the HTML source code of your website. You can use this on every page you want or just on the first page.
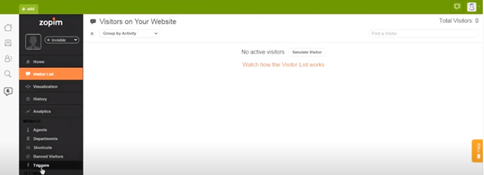
You can now chat with the visitors as well as try out various functions.
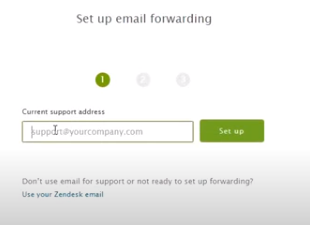
3). You need to configure your email address for email forwarding.
4). If you want to add more support agents to your Zendesk, click “Add more support agents”. Click on “Settings” and enter their e-mail addresses. Click “Invite”. Zendesk will provide a link to the e-mail addresses you provided. All they need to do is to click on the link and set up an e-mail address and password for the help desk.
5). You can also add a help center to your website. It is like a knowledge base for your website.
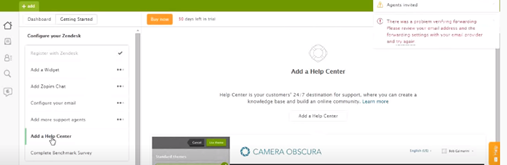
It helps customers to search queries online, for example, the basic queries of your website like FAQ can also be added to the help center. Customers won’t have to contact the support center for their basic queries. They can directly search for the help center for answers. To customize your help center, click on “Add a help center”.
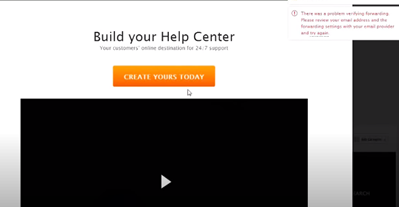
Click “Create Yours Today”. Select a theme for your help center from the themes given. After you finish applying, a “Help Center” icon will be visible at the bottom left of your webpage.
![]()
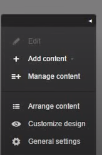
Click on it to go and edit your help center. You will have to activate the help center. Click “General Settings” and click on the “Activate” option.
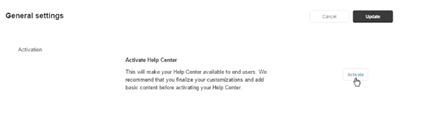
You can enable a spam filter also. Now the help center is available for customers to check. To edit and add content, use the options available to make your help center presentable to the customers.
You have now successfully created your Zendesk website for customers to view.
Summary: Setup Zendesk
- Go to the Playground
- Create a ticket
- Go to your Triggers
- Give your trigger a title
- In the first dropdown menu, select "Any status" and "Is equal to" and then select open.
- Confirm that you want to create the trigger/macro/automation.
- Go to OS> Customize Texts and click Share Templates button on the right side of the page.
- Once you've created the template, copy its link and share it with all agents that need access to it.
