Git is a distributed revision control and source code management system. In other words it provides a way for developers to keep track of their projects and how they're changing - this is known as version control . A lot of development teams use Git, either using GitHub or their own forks of the software in their own network. However this article will focus on the basics of using Bitbucket with Git.

Bitbucket is a Git repository management system that is web-based. It is a program like Github but more flexible with unique features in it. It is a system which organizes all of your Git repositories and guide and develops your source code. It has some awesome and unique features built-in. Also, you can import your code from Git, CodePlex, Google Code, SourceForge, and even from SVN. It is free to use up to 5 users or for small teams. Bitbucket comes from Atlassian which also has commercial accounts for use in a big team or systems.
Git is also used by various kinds of programmers working on source codes of projects and tracking changes in each step of the work. For an easier organization of your work and merging them Git is used broadly. But for divided work between teams, many use Bitbucket because it gives more flexibility in work.
If you want to use Bitbucket with Git follow this article to properly do it.
Before You Get Started
You need to ensure a few things before you start using Bitbucket with Git. So please follow the instruction below for removing any interruption in this process:-
- Ensure you have a Bitbucket ID open. If not go to the https://bitbucket.org/ site and create a new id and start the work.
- You need some active works, codes, or repositories to download them. If not please create a sample project or new work.
- You need to know how to create a repository and clone them in Bitbucket.
- You need a Github id to access Git and need the Github Desktop app. So download and login to the app before starting the procedure.
Using Bitbucket with Git
Follow the below steps for using Bitbucket with Git:-
- First, log in to your Bitbucket id by providing proper credentials from the https://bitbucket.org/ site.
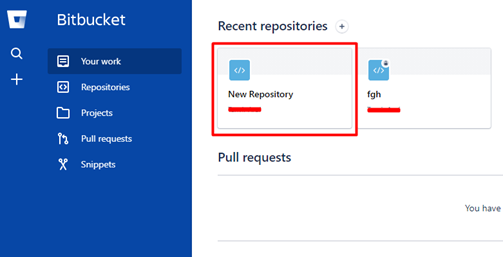
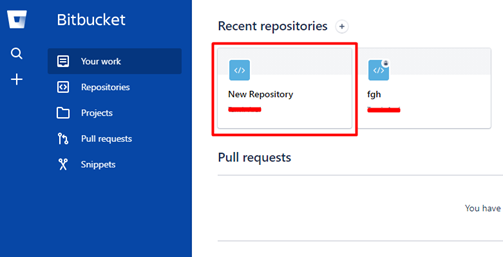
- From your work select the Repository you want to clone from the Recent repositories list.
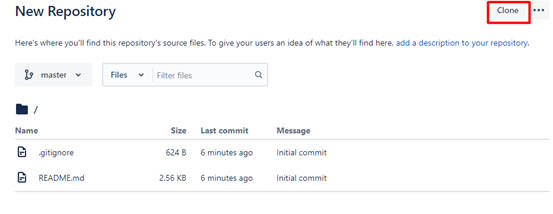
- After clicking on the repository you want to clone you’ll find a Clone option in the top right corner. Click on the option to proceed with the cloning process.
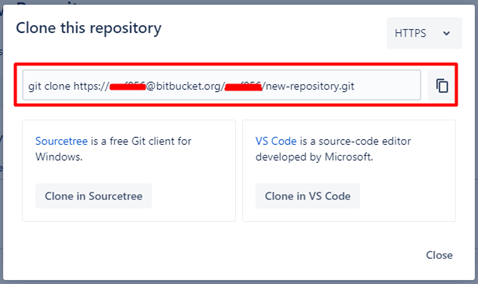
- Now from the Clone this repository option copy the Clone link by clicking the copy to clipboard option.
- After clicking on the repository you want to clone you’ll find a Clone option in the top right corner. Click on the option to proceed with the cloning process.
- Then download and install the GitHub desktop app and install and login with Git id.
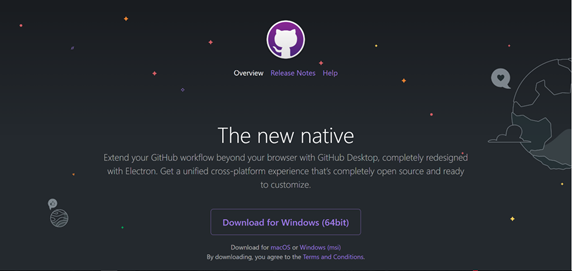
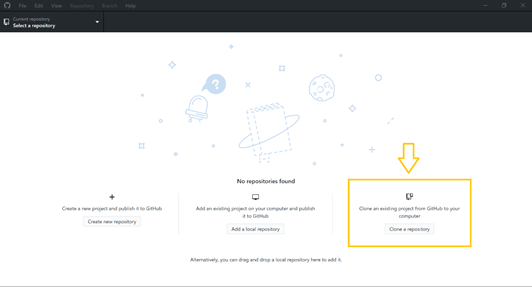
- You can skip logging in with Github id and if it asks for name and mail id enter your Bitbucket credentials. Now click on the Clone a repository option from the file option.
- Now from the URL option paste the URL you cloned from BitBucket. You can also select a local path if you want to change the local directory. After selecting these click on the clone button from here.
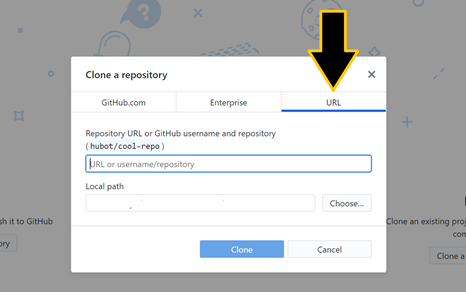
- If Bitbucket credentials are needed enter them.
So this is how you can use Bitbucket in Git by cloning the Bitbucket repositories in the GitHub desktop by following the above-stated steps.
Summary: How to use Bitbucket with Git?
- Go to bitbucket.org.
- Create a Bitbucket account then navigate to the dashboard.
- Create a new repository and name it whatever you want.
- Open a Git Bash window (Windows) or a Terminal window (Mac or Linux).
- Change the current working directory to your local project.
- Initialize the local directory as a Git repository.
- Add the files in your new local repository.
- Commit the files that you've staged in your local repository.
- At the top of your GitHub repository's Quick Setup page, click to copy the remote repository URL.
- In the Command prompt, add the URL for the remote repository where your local repository will be pushed.
- Your local repo is now connected with your online repo at Bitbucket!