Are you confused by the number of CRM tools available in the market? Which one to use? How are they different from each other? How easy or difficult is it to use these CRM tools? This article answers these questions and provides an overview about Zoho CRM.
Zoho Corporation focuses on web-based business tools and information technology. It offers various software and tools for managing customer information and customer relationship management. Zoho CRM is such a tool that most companies and people use. It manages your sales, marketing, and support in one online CRM platform. So, in this article, we will show you how to use Zoho CRM.
Before You Get Started
The three essential options of Zoho CRM are “Leads”, “Accounts” and “Contacts”. Leads is the whole list of contacts and company names, Accounts is the only list of companies, and Contacts is only the name of the contacts. You can do your basic work by knowing about these options. Every work or contact starts as Leads. then if people agree to join your mailing list or come to your seminar, you can convert them. And, their contact information will move into Contacts and all their business information move into Accounts. Here, we will give you a basic idea about these options for effectively using Zoho CRM.
Using Zoho CRM
- Go to the Zoho CRM. Sign in to your account.
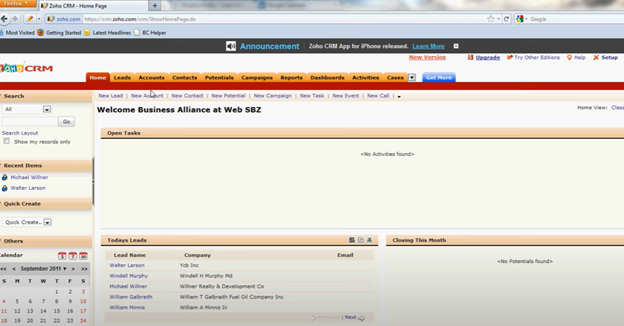
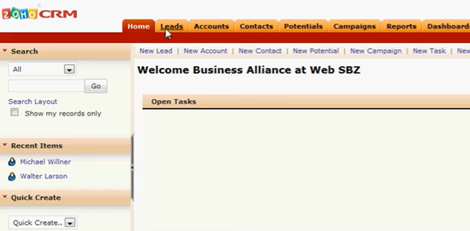
- You will see the options “Leads”, “Accounts” and “Contacts” on the Zoho CRM dashboard. Let's start with clicking on “Leads”.
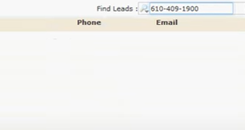
- It will open a list of already existing contacts and business information. you can add a new one to the list or edit an existing one. First, search the phone number on “Find Leads” to see if it's already there.
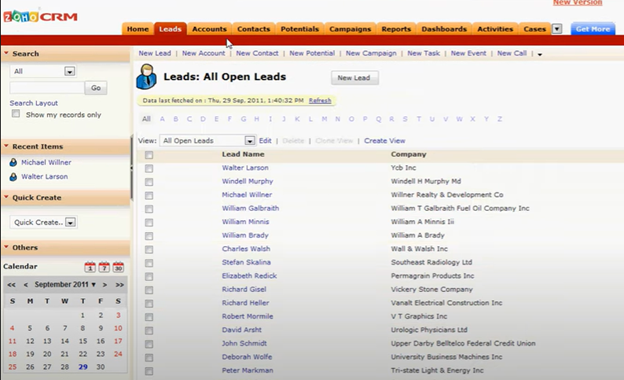
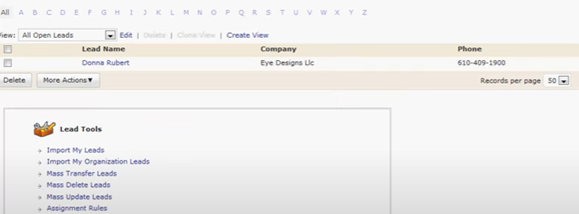
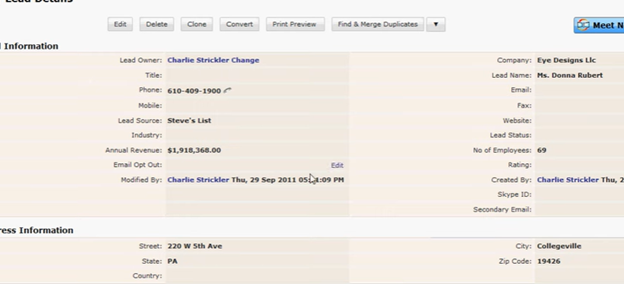
- If it's there already, Click on it. It will present you with the total information already stored. For adding information, click on any label and write your information.
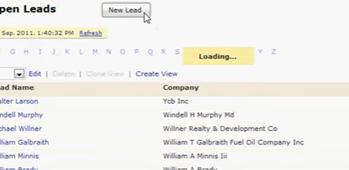
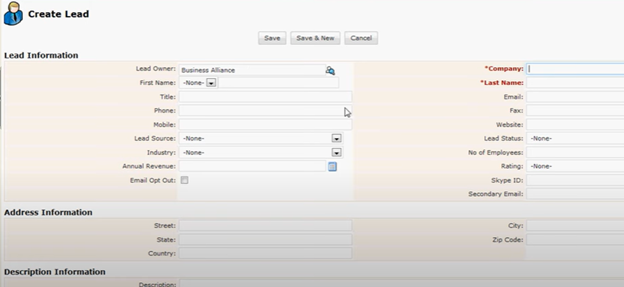
- Now, for creating a new lead, click on “New Lead”. Put in all the information you have on that lead. Save the information and the lead by clicking on “Save”.
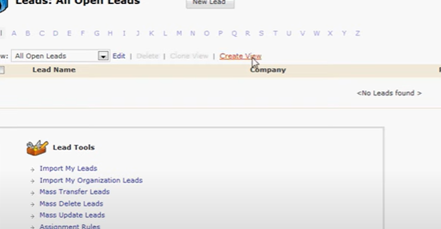
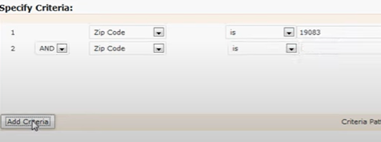
- For generating a list, click on “Create View”. Choose criteria under the “Specify Criteria” section.
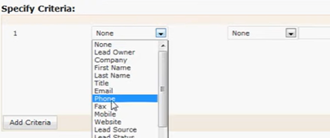
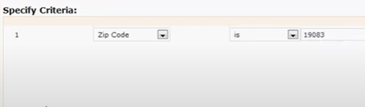
- Let's search with the criteria “Zip Code”. Write your desired zip code beside the specified criteria option. You can also add more criteria for your list by defining them with “And” and “Or”.
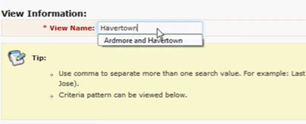
- Give the view a name so you could find it later.
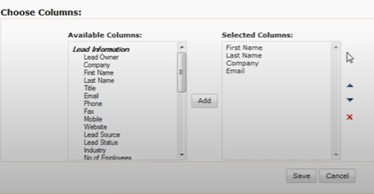
- You can also choose which info you want to display by adding them under the “Choose Columns” section. Then, save and close it by clicking “Save”.
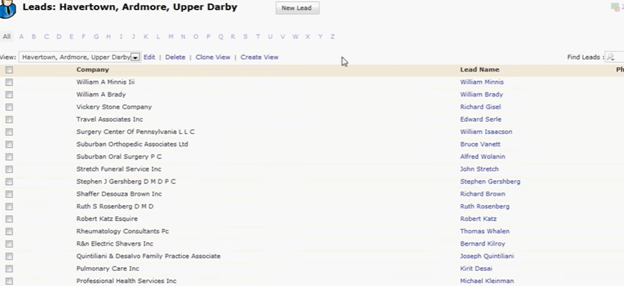
- It will show you your required leads. You can export it if you want by clicking on “Export Leads”.

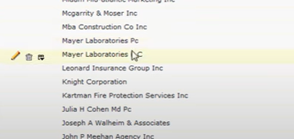
- There is some duplicate on the list. Find one duplicate. After finding, click on one of the duplicates.
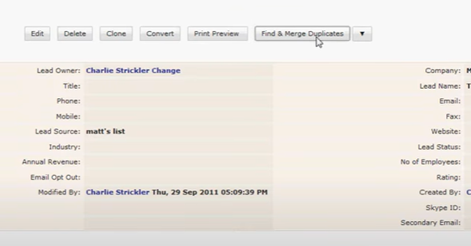
- Click on “Find & Merge Duplicates”. Then, it will give you the whole list of the duplicates.
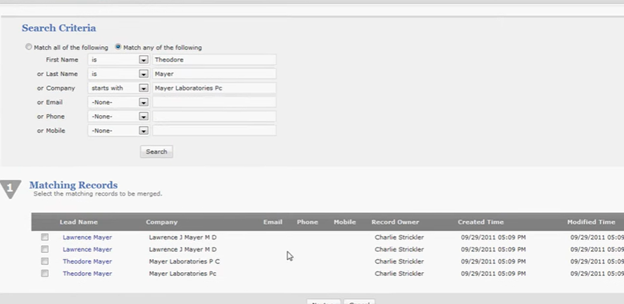
- Check the box beside the duplicates and click on “Next”.
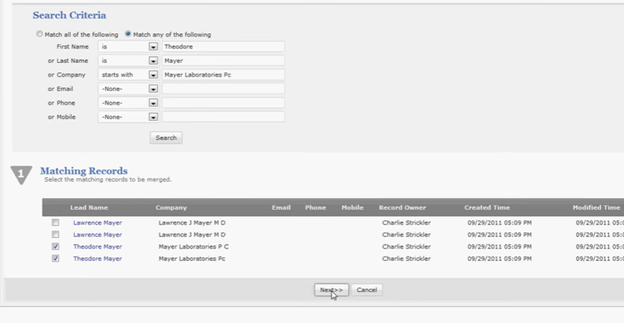
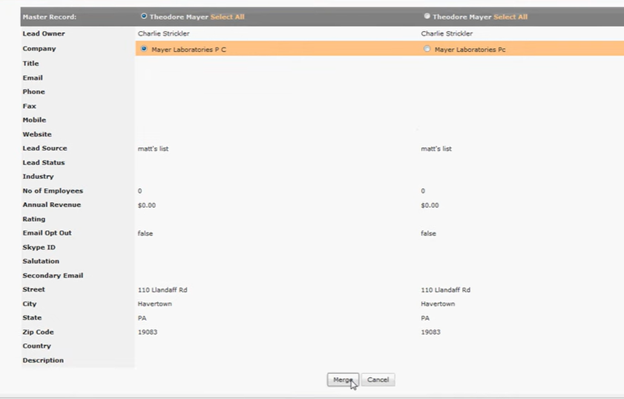
- It will show two different information and which one you want to keep. after Selecting which one you want to keep, click on “Merge”.
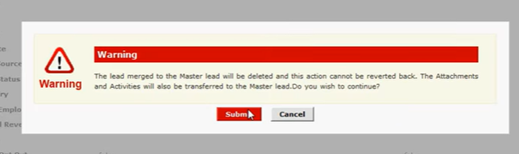
- A confirmation dialog box will appear. Click on “Submit”. The duplicates are removed.
So, following these steps, you can easily use Zoho CRM.
Summary: How to Use Zoho CRM?
- Zoho CRM is a robust customer relationship management solution that helps your business manage sales, marketing and support processes.
- It works well with small and medium businesses who are looking to get not just their sales, but also their marketing and analytics covered.
- They’re all tucked away in a single platform, so you needn’t go elsewhere to get all your customer-facing operations covered.
- To get started, navigate to the main dashboard of your account (by clicking on the logo at the top left corner of the screen) and click on ‘Setup’ from the dropdown menu.
- Now, select Data Administration from the secondary menu that appears on the left side of your screen. Under ‘Customization’, choose Module Layouts. You can now customize each module by going through the various options available under this section.
- From here, you can add or remove fields, drag and drop items within tabs, set mandatory fields and more. For example, if you want to add a field related to ‘Annual Revenue’ in the Accounts module, you can do so by navigating to Customize Field Settings.
