Apple mail is the world’s most used email client. Most of us use it for sending/receiving emails. Though, there are quite a few more things it can do. One thing that Apple mail is pretty good at is to backup almost everything. It help you to backup your email messages, address book…almost every email related data you want on your computer. I want to share with you two methods on how to take and restore a backup of your email program in Mac OS X 10.6 and later.
Your emails may contain significant information that can disappear if you're having technical issues. This is why it's important to save backup files of your Apple Mail more than ever.
Here are the the different methods on how you backup your Apple Mail:
MailSteward Free
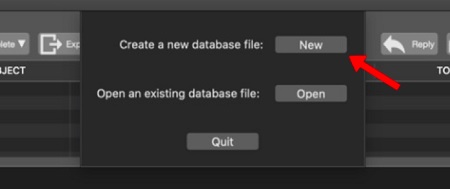
- Once you've opened the software, it'll ask you to create a new database file or open an existing database file. Select the first option by clicking the New button.
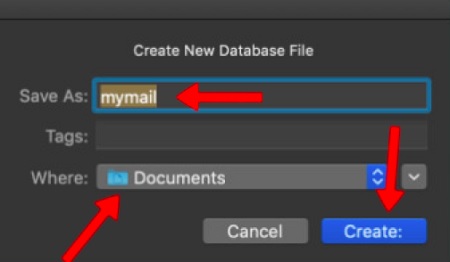
- In Save As, enter the name of your new database file. Then select the folder for your new database file in "Where." Click the Create button when you're done.
- Click on the Archive icon on the top menu.

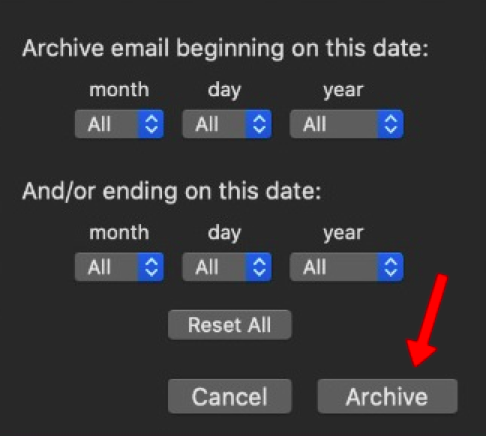
- Select the beginning date and the ending date, then click the Archive button.
- On the top menu, click on the Settings icon.

- Click the General icon on the upper left corner and select Apple Mail as your email application.

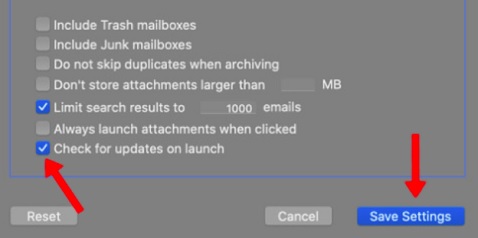
- Tick "Check for updates on launch" and click the Save Settings button.
EaseUS Todo Backup Free
- On the left side, select the Email Backup icon.
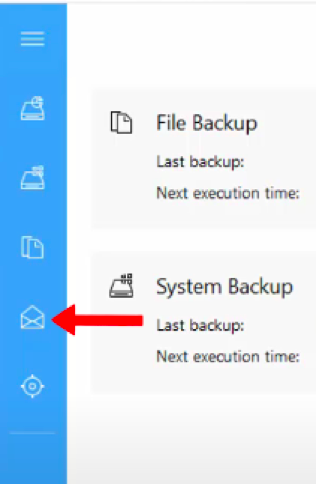
- Tick "Apple Mail" under the Email Backup list.

- Click Browse to choose your backup destination. Once you've chosen your destination, click Proceed.
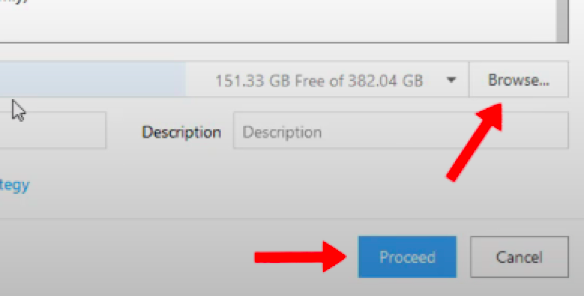
- The backup progress bar should start.

- While the backup progress bar is still ongoing, click on the drop-down button to see the backup details.
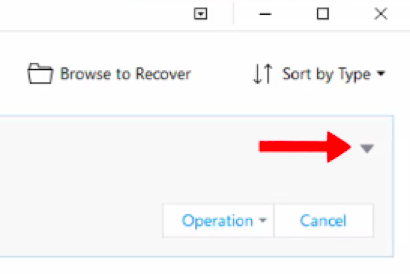
- When the backup is successfully done, you should see the date and time for that backup.

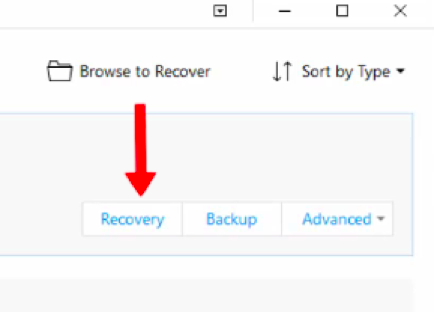
- If you want to restore the backup, click the backup email's Recovery button upon opening the software again.
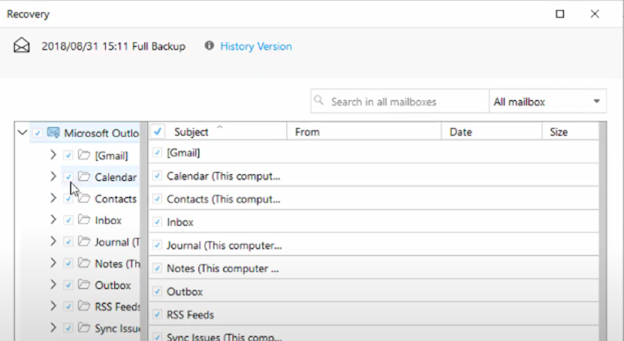
- In the Recovery window, tick on Apple Mail on the left side pane.
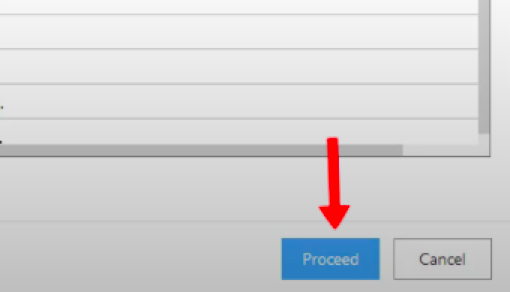
- Click on the Proceed button afterward.
MacUncle Email Backup Wizard Free
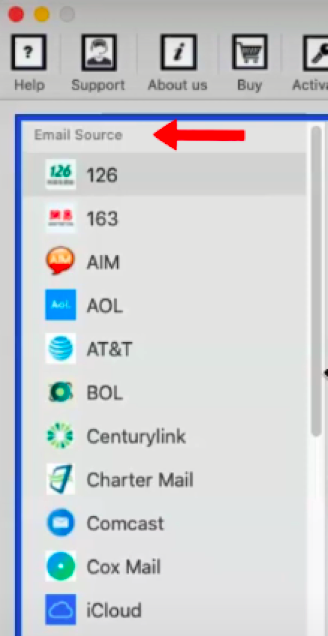
- Under Email Source on the left side pane, scroll through the list and select Apple Mail.
- On the right sidebar, go to the "Select Email Source" tab. Enter your email address and password for your Apple Mail. Then click on Login.
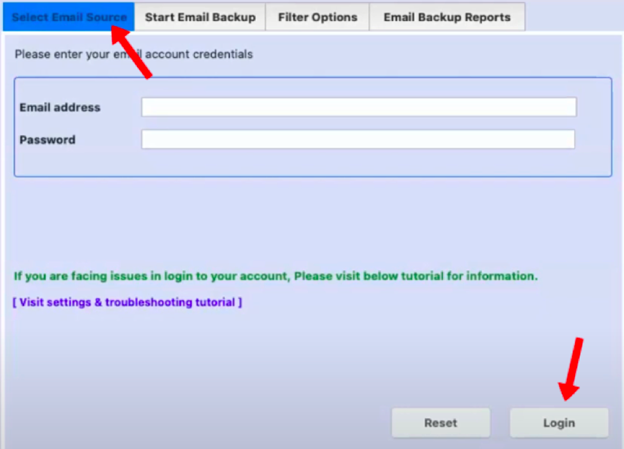
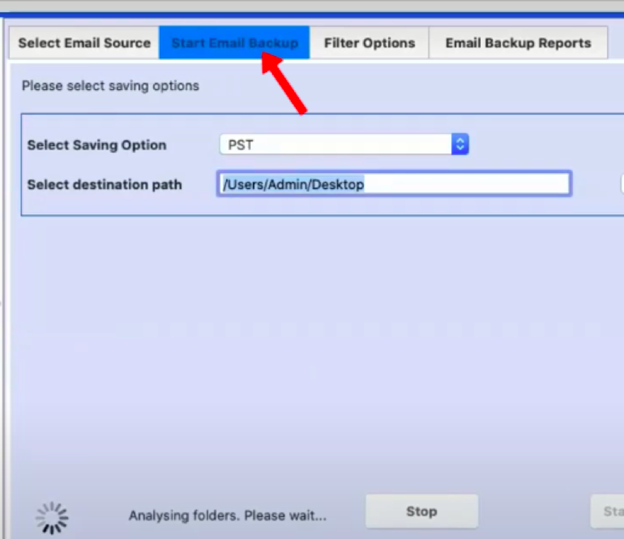
- The software will automatically bring you to the "Start Email Backup" tab and will start the folder analysis.
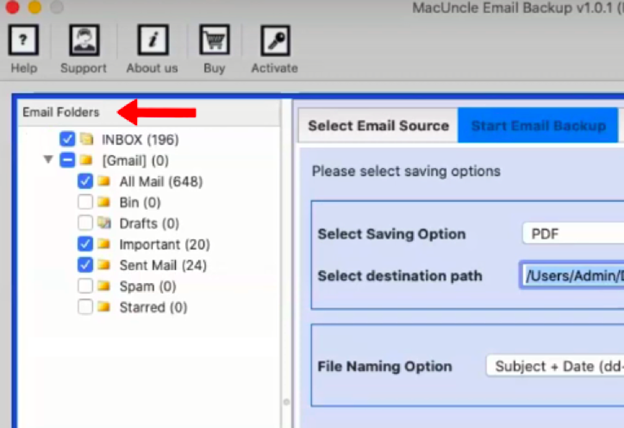
- A list should appear under Email Folders on the left side pane. Tick your desired folders in that list.
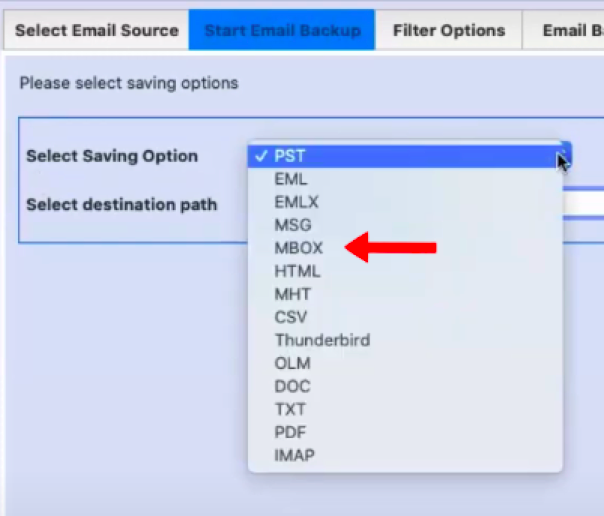
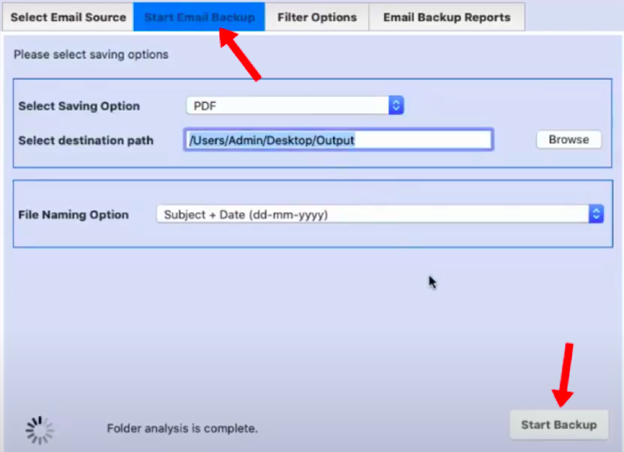
- In "Select Saving Option" under the "Start Email Backup" tab, select MBOX in the drop-down list.
- Click on the Browse button to select a destination path for your backup.

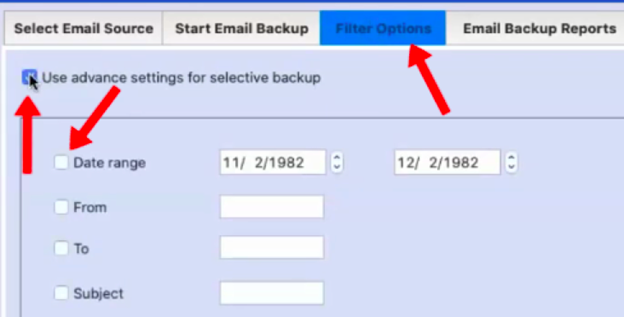
- Go to the "Filter Options" tab and tick "Use advanced settings for selective backup." Tick "Date range," then enter your beginning date and ending date.
- Go to the "Start Email Backup" tab and click the Start Backup button.
- The software will automatically bring you to the "Email Backup Reports" tab to begin the backup process.
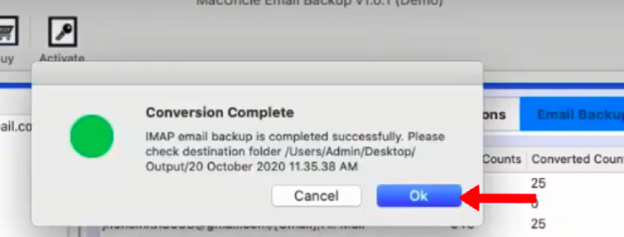
- Once it's done, click the OK button in the Conversion Complete window.
SysTools Mac iCloud Backup Free
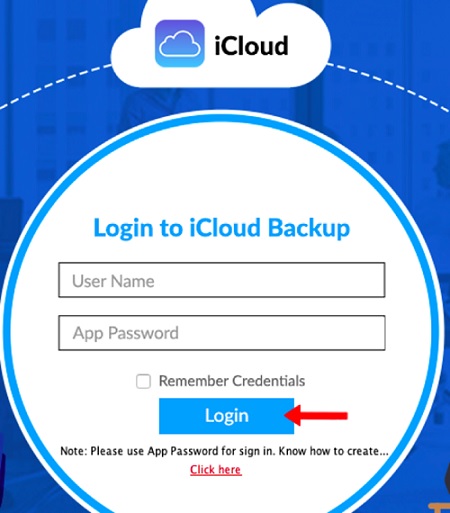
- Upon opening the software, enter your username and Apple Mail password. Then click Login.
- Under Select Export Format, select MBOX (Apple Mail/Thunderbird).

- Click "Apply Advance Settings" under Advanced Settings, then click the Settings button.

- Under Select Data Filter, tick "Mail Data Filter." Type in your starting date and ending date.

- Click "Exclude Trash" under Select Folder, then click the OK button.

- Back in the main software window, click on the Start Backup button.
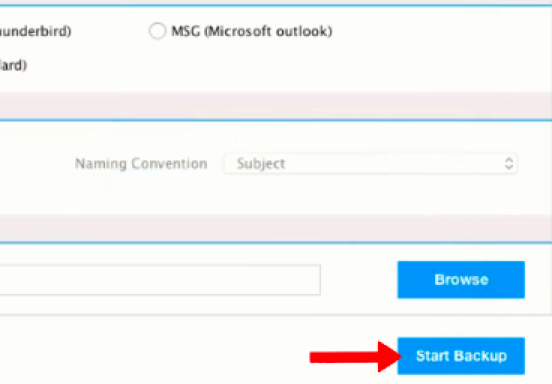
- Click Yes if you want to take incremental backup.

- You should see the progress circle move until its completion.
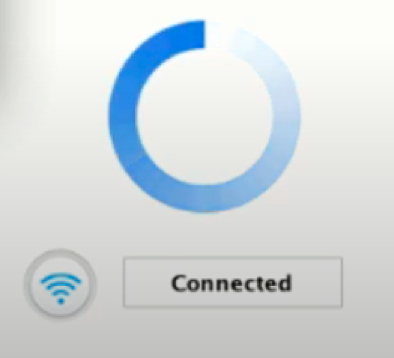
- Click OK when the backup process is successfully complete.
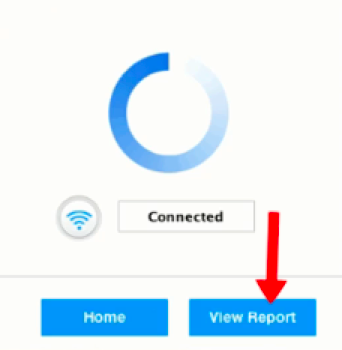
- Click on the View Report button on the bottom-right corner to open the window where your backup mail can be found.
Final Words
Keeping backups should be your priority if your emails contain essential information. Otherwise, you'll have difficulty recovering those emails once they disappear from Apple Mail.
Summary: Backup Apple Mail
- Shut down Mail.
- Choose File > Export Mailbox.
- The Select the folder you want to export dialog box appears.
- Click the arrow next to the On My Mac icon (in the list at the left) to expand it, and select the mailboxes you want to back up.
- Click OK, and click OK in the dialog that appears.
- An export progress dialog appears with a Cancel button and a Show Details button. Note: To hide this dialog box, choose Mail > Preferences, click General in the toolbar, and deselect Show progress of mailbox exports and imports.
- When finished, a dialog appears stating "The mailboxes were exported successfully." If any mailboxes failed to export, a list of them is provided so you can try exporting those items again.