You've probably heard about Twitch by now, but if not, it's a platform for personal streams of gamers playing live video games. Users are allowed to share their stream and even monetize it in several ways. One of the ways to get viewers is via giveaways that are announced on Discord servers. Fortunately, this operation can be automated with a bot called Nightbot. In this article, we will explain how to connect Twitch to Discord so that giveaways can be announced automatically.
With its growing popularity of about 250 million users worldwide and approximately 100 million active users each month, Discord is quickly becoming one of the primary platforms for communication and socialization among gamers. Its voice, call, and chat features are a plus for gamers across multiple servers.
Twitch is another world-leading platform that allows users to live stream. It primarily focuses on video game live streaming, which includes esports competition broadcasts and more recently “in real life” streams.
Both Discord and Twitch are free and are commonly used by gamers. For Twitch viewers and streamers, Discord is also a good place to connect to their friends and followers in one setting. Fortunately, Discord allows apps like Twitch to easily integrate a Twitch account to a Discord account.
How to connect Twitch account to Discord account?
- Log in to the Discord account.
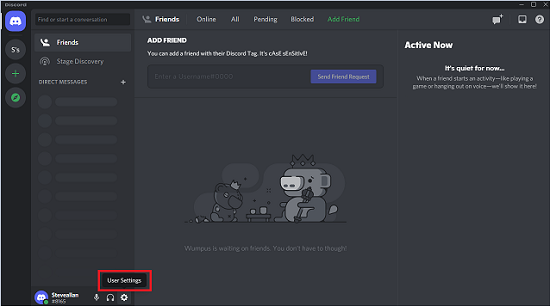
- On the lower left side of the screen, look for the settings icon, and click it. This button is on the same bar as the username and the microphone and headset icons.
- User Settings will appear on the screen showing details on “My Account” in the middle.
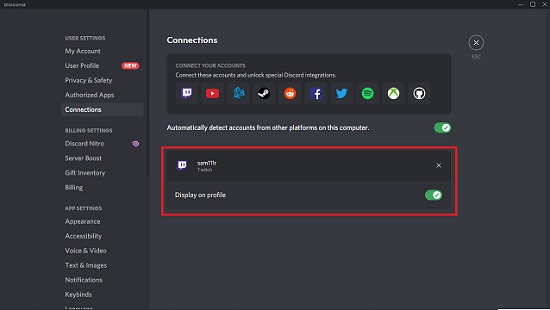
- On the left side of the screen, find “Connections”. Click it.
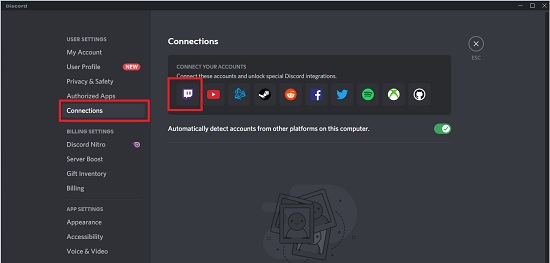
- The middle of the screen will show different user accounts/apps that can be connected to Discord.
- The Twitch logo appears first. Click on it.
- A prompt from Twitch will appear, notifying that Discord wants to access the Twitch account.
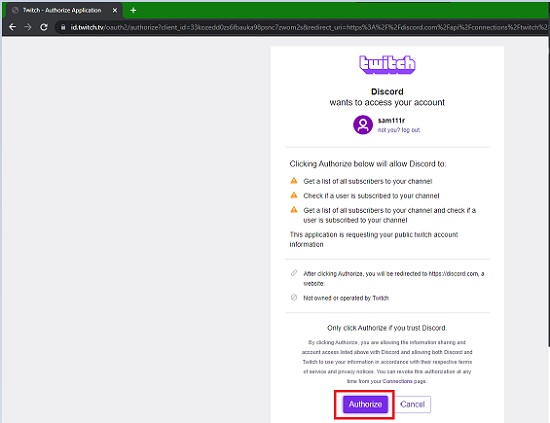
- Scroll down and click “Authorize”.
- For a few seconds, a prompt will appear saying, “Connecting your Twitch account to Discord”.
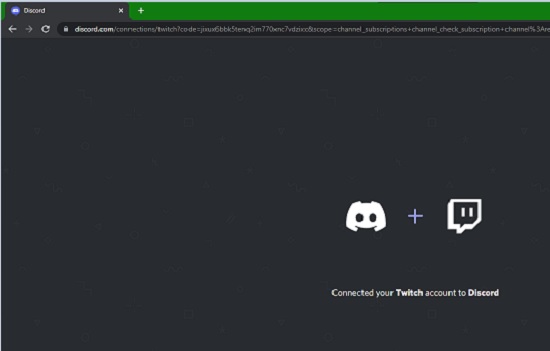
- Once successfully connected, a purple banner will appear with the Twitch logo and username.
- Users also have the option to “Display on profile”.
- For non-streamers, that’s it. Twitch and Discord have been successfully connected.
- For streamers, go back to the Discord main screen.

- Click on the server that is to be connected to the Twitch feed.
- Beside the server name, click on the arrow.
- Look for “Server Settings”.
- Once in server settings, click “Integrations” on the left menu.
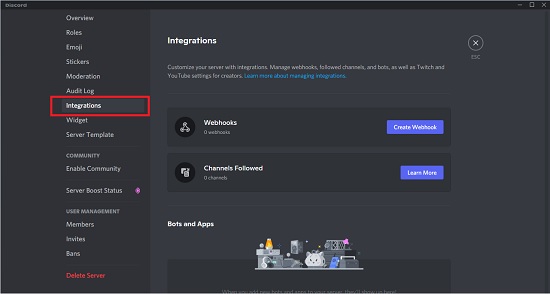
- Select “Connect” in the center of the screen.
- Set all the connection properties to be added. This includes partner options, account syncing, roles for partner or sponsors, and some others.
- And done! Set up is complete.
Linking the Twitch account to the Discord account provides and an extra dose of engagement for communities within or before and after streams. In some cases, some Twitch streamers have a subscriber-only Discord server or have events that are only done through Discord. To participate, the two accounts need to be connected.
Initial setup for the connection of Discord and Twitch must be done via desktop. It will only be functional on the mobile app once the desktop configuration has been made. It might take up to 24 hours for the two platforms to completely sync up, though generally, it would only take a few minutes for everything to be seen.
Summary: Connect Twitch to Discord
- Locate your Discord server settings.
- Choose the Twitch streamer you want to subscribe to.
- Go back to channel settings on Twitch, scroll down to Stream Key and copy that into OBS Studio on the Settings > Stream section.
- Open the Connections window by clicking the button on the bottom left of the screen.
- In the right side panel, locate Webhooks and click Create Webhook to view your new webhook URL.
- Paste your webhook URL in the Channel text box under ChatBot > Output at the bottom of your screen in OBS Studio.
- Make sure all of your Streaming/Recording and Global Settings are correct as well as any other Sources you plan to use.
