How To Enable Internet Connection Sharing Disabled By The Administrator?
715 Views
When you reach out to the network and sharing center window and open the network sharing dialogue, you find that you cannot share your internet connection because it says that "internet connection sharing (ICS) has been disabled by the administrator." In that case, you will go through the simple procedure to enable your ICS. The procedure is almost the same for Windows 7, 8, and 10.
So, let's move on,
Step 1
Press and hold the window key+ R to open the Run window.
Step 2
Write "gpedit.msc" in the box and click Ok. The group policy editor window will open.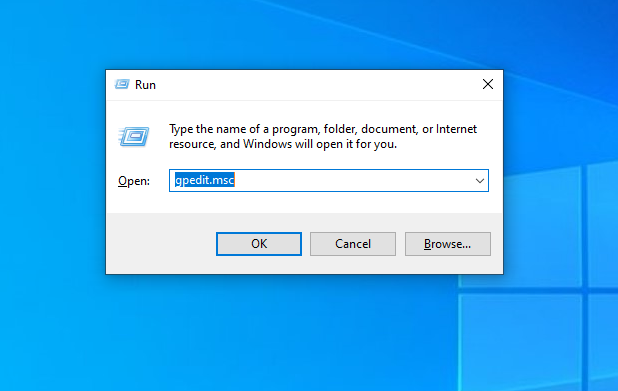
Note:
If you are using windows home edition, you will not be able to open gpedit.msc. So, you have to download the gpedit enabler for windows. For example, for Windows 10 home edition, you can download gpedit enabler for windows 10 home edition from google.
Download the file and click on the file to search for its location.
You will find "gpedit-enabler.bat." Right-click on that file and click on Run as administrator.
You will see the message from the user account administrator on your window. Click on Yes, and the black window will appear on your screen. Let it run.
When the operation gets completed, you will be asked to press any key. So, by pressing any key, you will be able to open gpedit.msc.
Step 3
When you open the group policy editor window, navigate to Computer Configuration and then expand Administrative Templates/Network/Network Connections.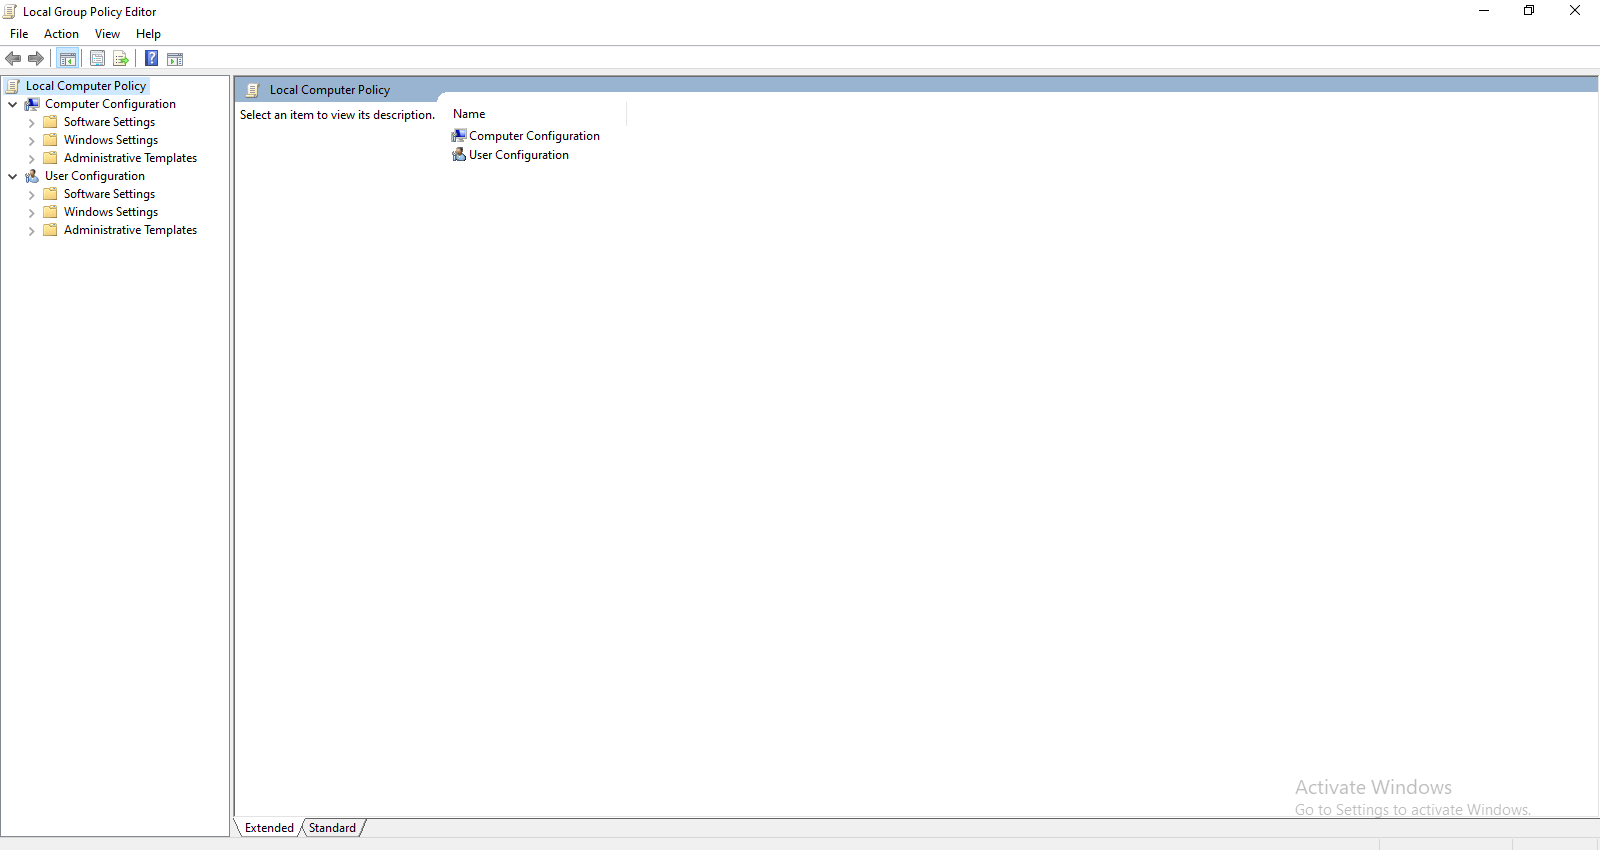
Step 4
Some policies will be visible on the right-hand side. You will see that they are not configured at the moment.
So you have to disable the following policies by double-clicking them one by one.
- Prohibit the installation and configuration of Network Bridge on your DNS domain network
- Prohibit the use of an Internet Connection Firewall on your DNS domain network
- Prohibit the usage of the Internet Connection Sharing on your DNS domain network
- Require domain users to elevate when setting a network's location
Step 5
Close that window, and come to the main screen. Then press and hold the window key+ R to open the Run window.
Type "Regedit" and press Ok to make changes in the registry editor.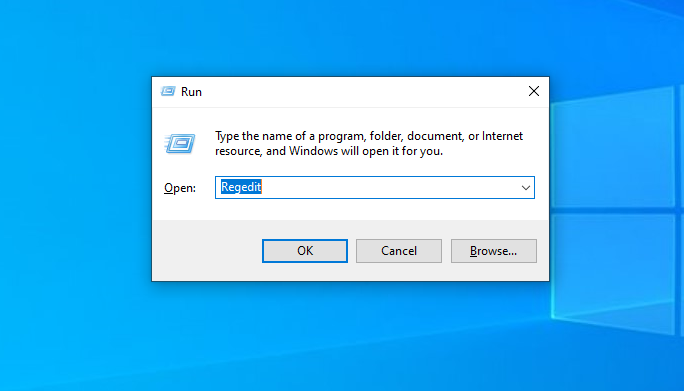
Start with expanding HKEY_LOCAL_MACHINE/SOFTWARE/Policies/Microsoft/Windows/Network Connections.
On the right side, you will see two Dwords whose value is zero
NC_PersonalFirewallConfig
NC_ShowSharedAccessUI
You have to change its value to 1 by double click on them one by one on both the Dwords.
Then close the window and move to the network connection window, and you will see that in sharing option, the checkbox.
"Allow other network users to connect through this computer's internet connection" will appear. It means that you will be able to share your Ethernet and Wifi connection with other users.
Conclusion
Enabling internet connection sharing, which is disabled by the administrator, is not a difficult task. Each step is explained in this article clearly and precisely. Follow the above instructions and enable internet connection sharing on your window.
