Are you tired of using the basic built-in editor of your Mac? Maybe your development team is using the NetBeans IDE and you are behind. Maybe you just want to try something better. Whatever the case is, you can install NetBeans on Mac. Let me show you how.

NetBeans is an open-source Integrated Development Environment (IDE) written in Java. NetBeans began its journey as a student project in 1996 at Charles University in Prague. In 1999, Sun Microsystems acquired NetBeans and in 2010 Oracle acquired Sun, also NetBeans.
Using an IDE is very handful. It allows you to access all of the tools easily and you don’t have to organize things manually. NetBeans provides seamless support for Java ME mobility pack, Java AWT/Swing, Java EE and it is bundled with an outstanding profiler for performance tuning.
Installing NetBeans on Mac might feel tricky but do not worry. Today, I’ll show you the easiest steps to install NetBeans on Mac and help you to use it.
Installing NetBeans on Mac
Before going through any installation process, you need to make sure you have installed Java Development Kit (JDK) on your Mac. (If you haven’t installed JDK on your Mac, follow my instructions later in this article to learn how to install JDK on Mac).
Follow the steps below to install NetBeans on your Mac:
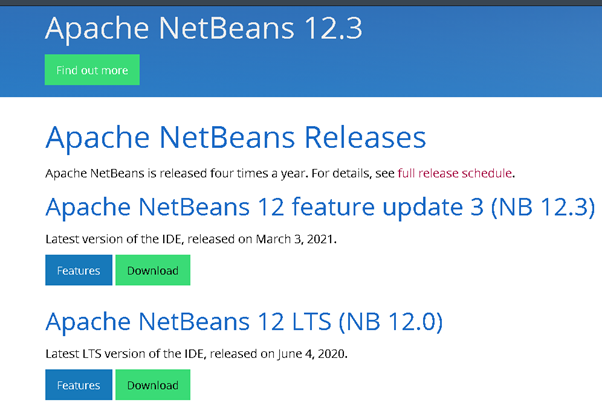
- Download NetBeans from https://netbeans.apache.org/download/index.html.
- Tap “Download” for the latest LTS version of NetBeans. (You might see a different NetBeans version than mine as the software gets updated from time to time. You just have to follow the steps to install any version of NetBeans).
- You’ll see many bundles available for downloading. You have to tap on the dmg file (e.g., “Apache-NetBeans-12.0-bin-macosx.dmg (SHA-512, PGP ASC”).
- Now, click on the mirror website link provided for downloading NetBeans.
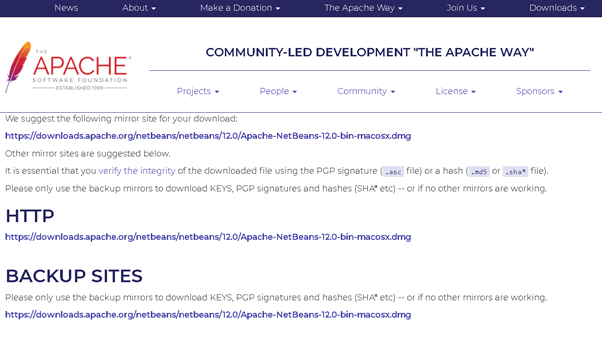
- The browser will start the download.
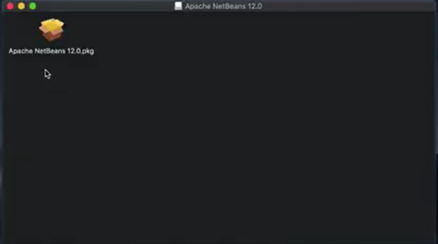
- Click on the downloaded file which should be named “Apache NetBeans 12.0.pkg”.
- Now, from the installation tab, tap on “Continue” to initiate the installation process.
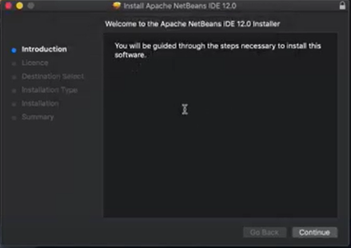
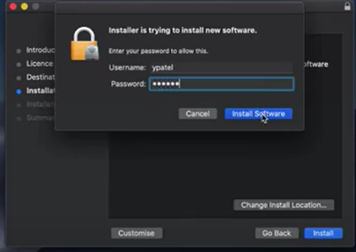
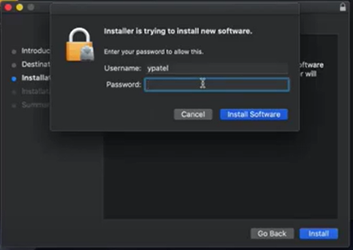
- Continue with the license agreement, select your installation location and provide your Mac OS password.
- Click on “Install Software” and close the tab after the successful installation.
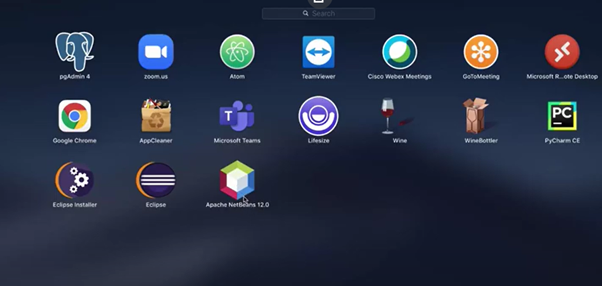
- Go to the “Launchpad” icon on your Mac and you should see the “Apache NetBeans 12.0” logo.
Installing JDK on Mac
If you haven’t installed Java on your Mac, you need to install it first according to use NetBeans. Follow the steps below to install JDK on your Mac:
- Go to https://www.oracle.com/java/technologies/javase-downloads.html to download the latest JDK installation file. Right now, the latest version is Java SE 16, you might see a different version over time. But the installation process will be the same for other versions as well.
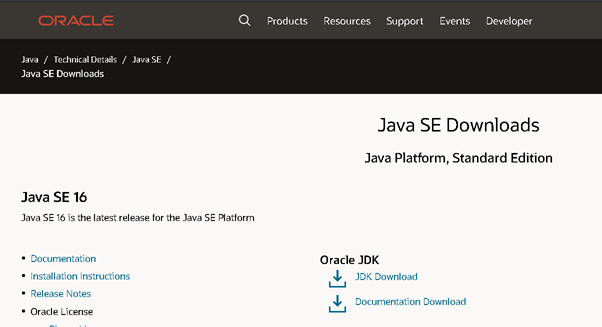
- Click on JDK download.
- Scroll down a little and you’ll see different packages for different operating systems. Click on the download link for “macOS Installer”.
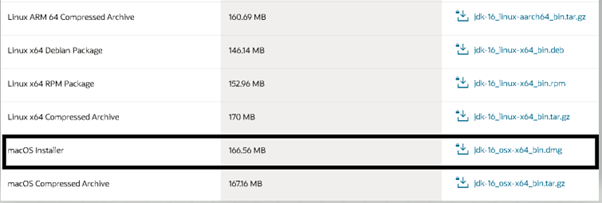
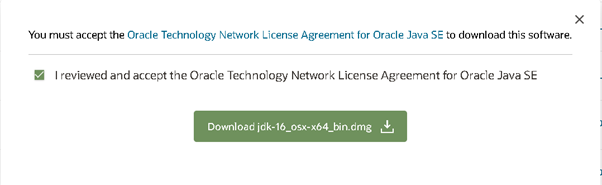
- Check the “Checkbox” and click on the green download option. Your browser should start downloading the file.
- Click the downloaded package. Click “Continue”, then select your installation destination and provide your Mac OS password. Click the “Install Software” option and close the installation tab after the installation.
Checking Java Version on Mac
Using terminal to check the Java version is the easiest way. Do the followings to know your Java version on Mac:
- At the top-right of your screen, click on the “Spotlight Search” button.

- Type “terminal” in the bar and open the application by clicking on the icon.

- Run the command: java –version in the terminal and the output should display the java version installed on your Mac.
Summary: Install NetBeans on Mac
- Download the latest version of NetBeans IDE with JDK 8 included.
- Double-click on the installer file.
- Select the option to customize your installation, and then select the features to install.
- Click on Install.
