How To Share Encrypted Files And Back Up Them On The Cloud?
385 Views
- Create your locker
- Locker type
- Completing your locker
- Accessing your locker
- How to share encrypted files?
- Step 1: Click on the Details button
- Step 2: Click add button
- Step 3: Click on the original computer user and then click ok
- Step 4: Final steps
- Summary: Share encrypted files and back up them on the cloud
- Conclusion
If you are depend on cloud storage for business, you will know how important it is to keep your files encrypted. In this article I'd like to take you through the process of sharing and backing up encrypted files in a few clicks.
Encrypting your files assures they are safely stored in the cloud. When the file you want to share is encrypted, you are putting your trust in the company not to open your files or abuse its access to them. Sometimes, however, this trust is abused. Not all companies are safe; some spies, intruders, and thieves can easily access your files due to weak security.
However, do not fret! There’s actually a software you can use for that; one that assures military-grade protection on your files. This is NewSoftwares.net, a software that’s trusted by more than 55 million users worldwide. Other than encrypting your files, it can also protect and shred your files and back up your cloud. What impressive software indeed!
This article will provide you with a step-by-step procedure on how you can encrypt your files, share them, and back them up on the cloud using NewSoftwares.net.
Create your locker
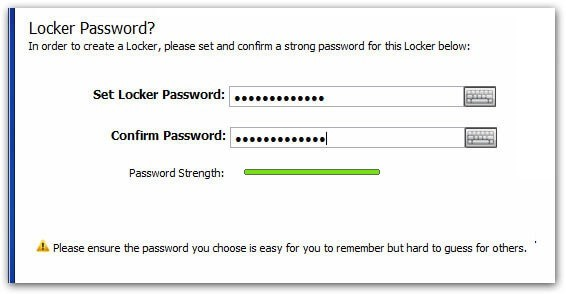
Using NewSoftwares.net’s Folder Lock, you can now encrypt your files without a hassle. First, you have to create a locker. This locker will serve as your storage. Click on the ‘Create Locker’ button and assign a name for your locker. Afterward, you will be asked to set your locker password.
Locker type
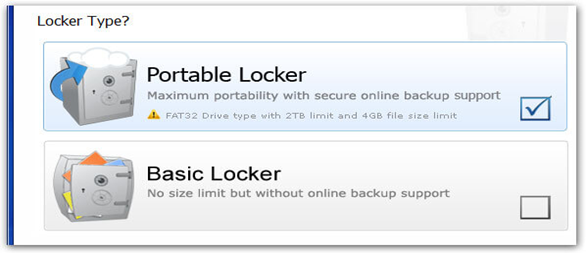
NewSoftwares.net provides two Locker Types for its users. You could select from Portable Locker and the Basic Locker. If you didn’t make a choice, the Portable Locker will be assigned to you instead. Keep in mind that the Basic Locker offers 14TB of space where you can add your files.
Choosing your locker type is a very crucial step because once you have created your locker, you can’t change it.
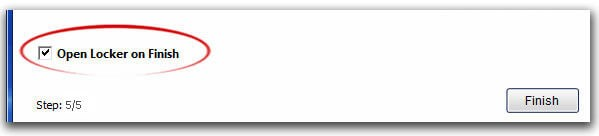
Completing your locker
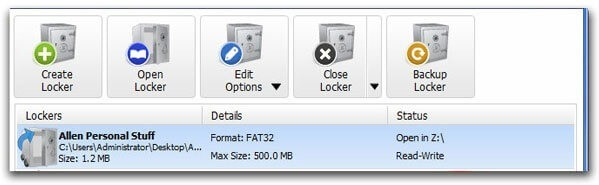
Once you have created your locker, the computer will show details about your lockers such as your locker’s size and name. If you’d like to see your locker, click on the ‘Open Locker on Finish’ option.
The status of your locker will now appear on the screen. You can now open, edit, or back up your locker to the software’s secured cloud service.
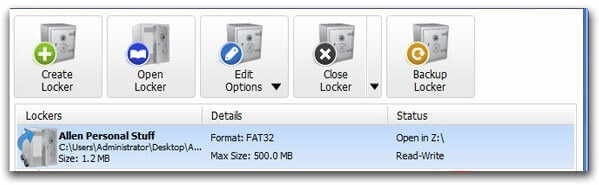
Accessing your locker
You’re now almost done! You can now open your locker using two ways. The first one is to right-click on the locker and select ‘Open’. The second way is to open is through your user-interface. You can simply press the ‘Open Locker’ button which is located on the top right-middle.
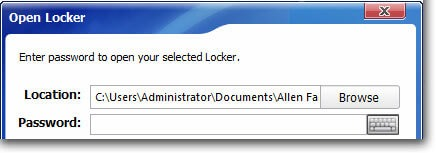
Once you have accessed your locker, simply enter your password and it will quickly appear on your screen.
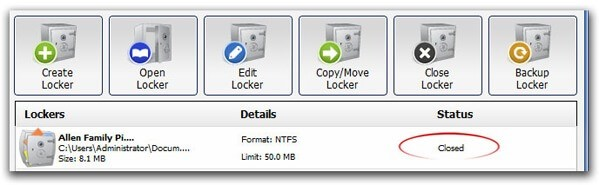
When you notice that your virtual drive opens, just simply click on the files you want to encrypt and drag and drop them into your locker. Once you are done, always close your locker by clicking on the locker button or by simply clicking the close button.
After following these steps, you can now store your encrypted files in your locker without having to worry about your data privacy. NewSoftwares.net assures full security and protection for your files. You don’t have to worry about spies or intruders anymore! With its military-grade protection, only you can access your encrypted files on your locker.
How to share encrypted files?
When you share encrypted files from your drive, it travels safely on the Internet, assuring you that no one can open or access your files. However, as it gets really hard for other users to open it or access it, your destination user might have a hard time accessing your shared files too.
This section will provide you with a step-by-step procedure on how to decrypt your files.
Step 1: Click on the Details button
Right-click on your file. The Details button should appear. Make sure you click on it.
Step 2: Click add button
Click on the Add button which is usually displayed on the Select User dialog box.

Step 3: Click on the original computer user and then click ok
After clicking OK, you can now access the encrypted file. If there are two users, you should repeat the step.
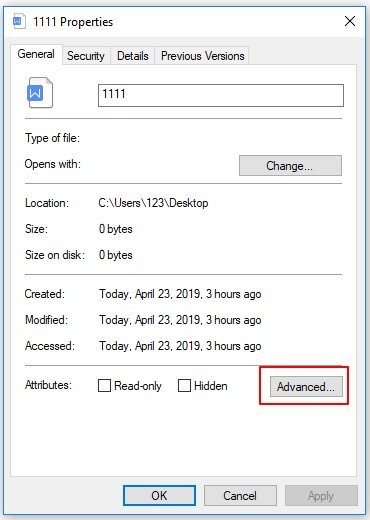
Step 4: Final steps
To finish things up, click OK to close the Encryption Details found on the dialog box. Also, click OK to close the Advanced Attributes box. Finally, click OK to close the file’s Properties dialog box.
After following these steps, you can now share encrypted files with other users, and they can access them without having to use the software. Simple and convenient, right?
Summary: Share encrypted files and back up them on the cloud
- Choose a cloud service provider.
- Create an account or find an existing one.
- Configure the settings and understand the features.
- Encrypt your files before you upload them to the cloud.
- Upload your files to the cloud.
- Share the encrypted files with someone else.
Conclusion
These days, data privacy and security should be one less thing we should worry about. In this new digital era, we should feel at peace knowing that no one else can access or change our files without our permission.
Thankfully, there’s NewSoftwares.net that does the job without a hassle. Now, you can sleep peacefully at night without worrying about your documents getting lost, stolen, or tampered.
